DIY: Heart Made With Salt Dough

Not being able to buy anything new for brightening and decorating our house made me a little bitter recently. The winter was just terribly grey and miserable and I really would like the house to look fresh and colourful again. I want to bring the life back into it. So instead of waiting for the first spring flowers to come out, I decided to go back to my school years and employ the old and ever-so-easy method of using salt dough for making decorations. The final product might be lacking in sophistication but it does cheer me up and the house looks heartened too. ;)

Ingredients:

1 cup flour

3/4 cup salt (I used a mixture of fine and coarse salt to make the heart look rustic)

1 cup water

2 teaspoons cream of tartar

Slowly mix all the ingredients together and knead the dough for around 10-15 minutes. Create shapes of your choice and using a pen make a small hole for hanging the ornaments. Put the ornaments into the oven at around 70°C. The dough may take from an hour to a couple of hours to dry out completely depending on the size and thickness of the ornament.  Paint with any available colour. :) I used an old lace to hang the heart up. It looks perfectly fine on our window. :)

It’s no longer only about buying nothing new

painting

February is over and as promised I haven’t bought anything new for myself or my son this year. This challenge is really growing on me and my family and I’m really starting seeing and appreciating its influence. In fact, I came to realise that ‘Nothing New’ is no longer only about buying nothing new… it’s much more than this…

I’ve been following the blog of the original initiator of this idea Sash at Inked in Colour and observing how she’s approaching her challenge. I’m reading her posts and I am often taken aback at how far she takes that challenge… how much she pushes herself to live by her rules. Just recently, for example, she has posted an article about making her own paint. I’ve been painting a lot recently… stroking our kitchen walls layer after layer. Not for a second did I think about making my own paint. It just never occurred to me that I can do it. That there is a way for me to do it on my own.

malowanie23

So thinking about Sash’s post while I was applying the last coat of the paint, I began wondering how many other skills are there that we haven’t developed because we are so used to buying things? How many skills have we forgotten because we shop? Are we not de-skilling ourselves because it’s just so convenient to buy things? The answers to these questions made me look at our different lists (shopping list, wish list, DIY list) and seriously consider if there are things on these lists that I can do by myself or learn to do by myself… and there are of course, quite a few… like making your own yoghurt, juices, jams and breads… and learning to craft home décor and sew.

This year I really would like to make some improvements and alterations to our garden, to make it look nice and neat, improve our herb patch and build a raised bed to grow some vegetables. In the spirit of ‘Nothing New’ I am preserving ‘bits’ of our old kitchen to use them for our garden and I also collected quite a few old-style bricks from our distant neighbours who just a few weeks ago knocked down a wall or two in their house. Last year I would probably have just gone to one of the big chain DIY supermarkets and I would try to find articles for my garden there… this year I am thinking differently… this year I want to be creative with what I have and what I can find and above all I want to do it with my own hands and learn some new skills too. Can’t wait.

painting the door

DIY: safari made out of a shoe box

safarism3

Buying nothing new is not only about shopping. It is also about making use of what we have in our houses already. I had a shoe box and quite a bit of felt from my craft projects that I did as far back as two years ago. I decided to make something out of them. When I started I wasn’t sure what it will be… I thought that the fabric and scissors will lead me somewhere and I was right… it was quite a journey… a safari in fact.

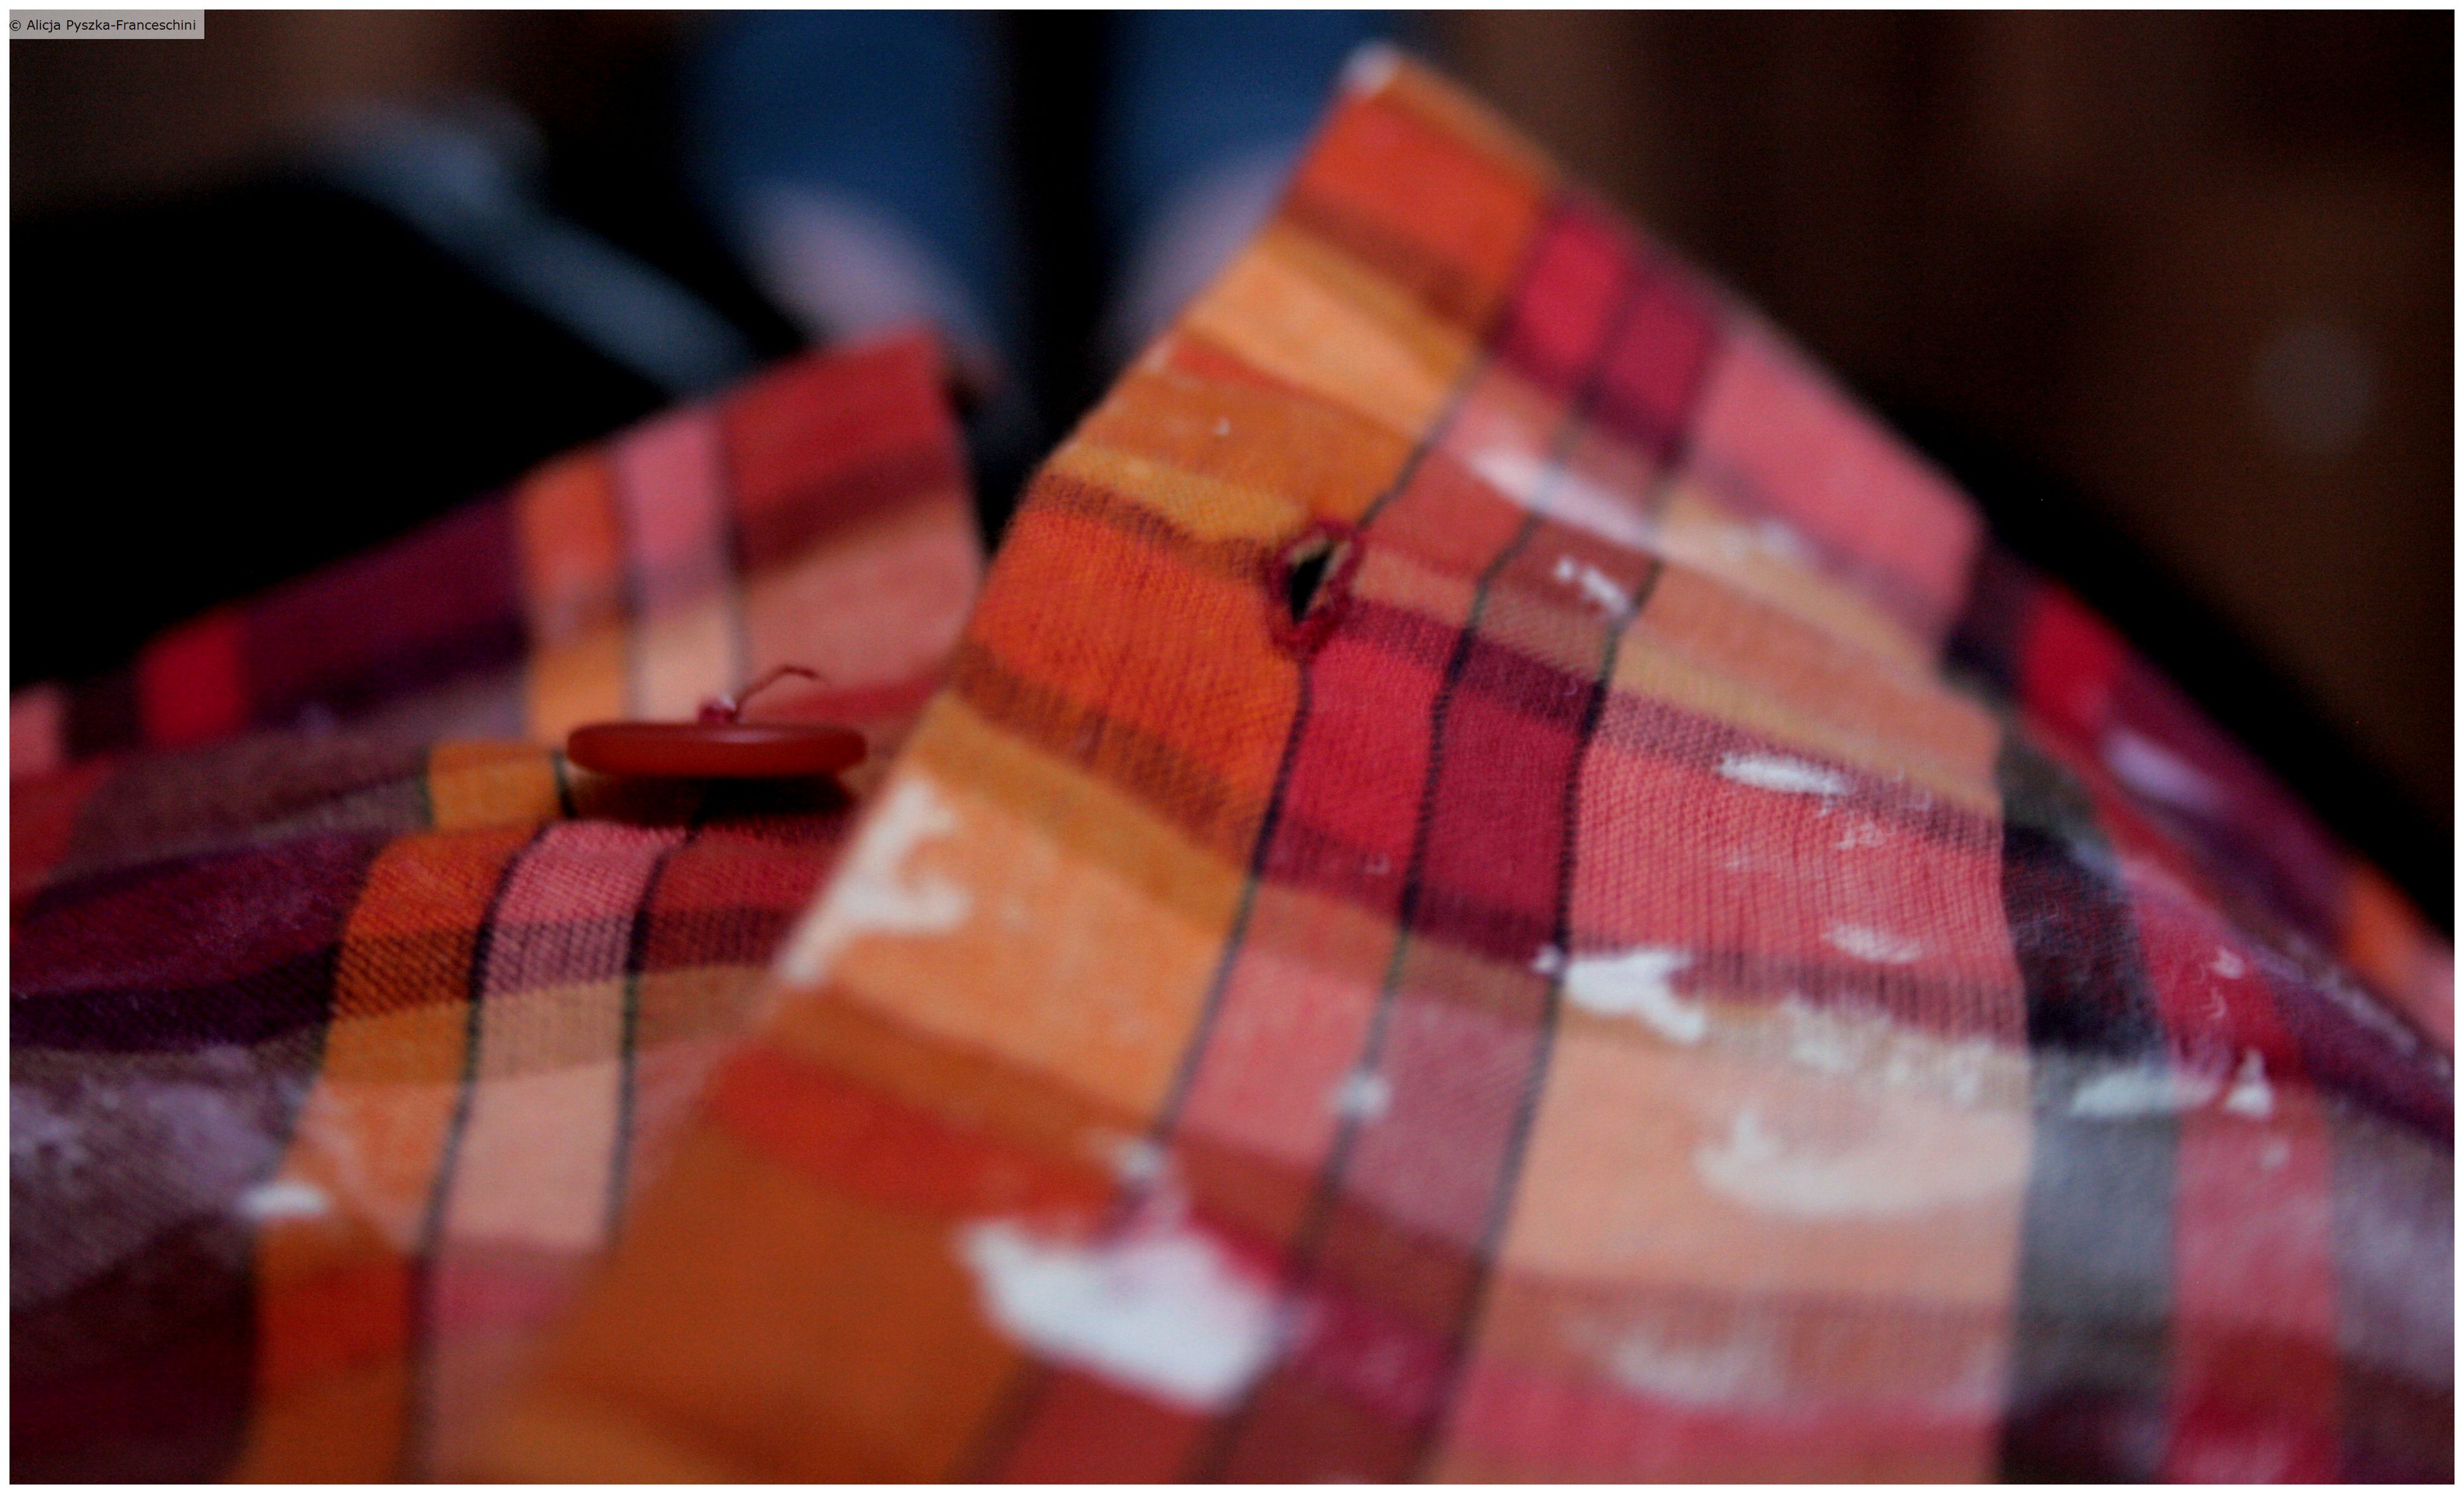
First I ironed the felt that I wanted to use. Then I tightly covered the box with black felt and folded it diagonally to make nice and clean looking creases. I used big binder clips to help me with fabric adjustments. Once I knew how the fabric would cover the bottom part of the box I started unfolding bits of felt and gluing them back to the box with a double-sided adhesive tape. I glued the felt onto all the walls of the box and inside the box too.

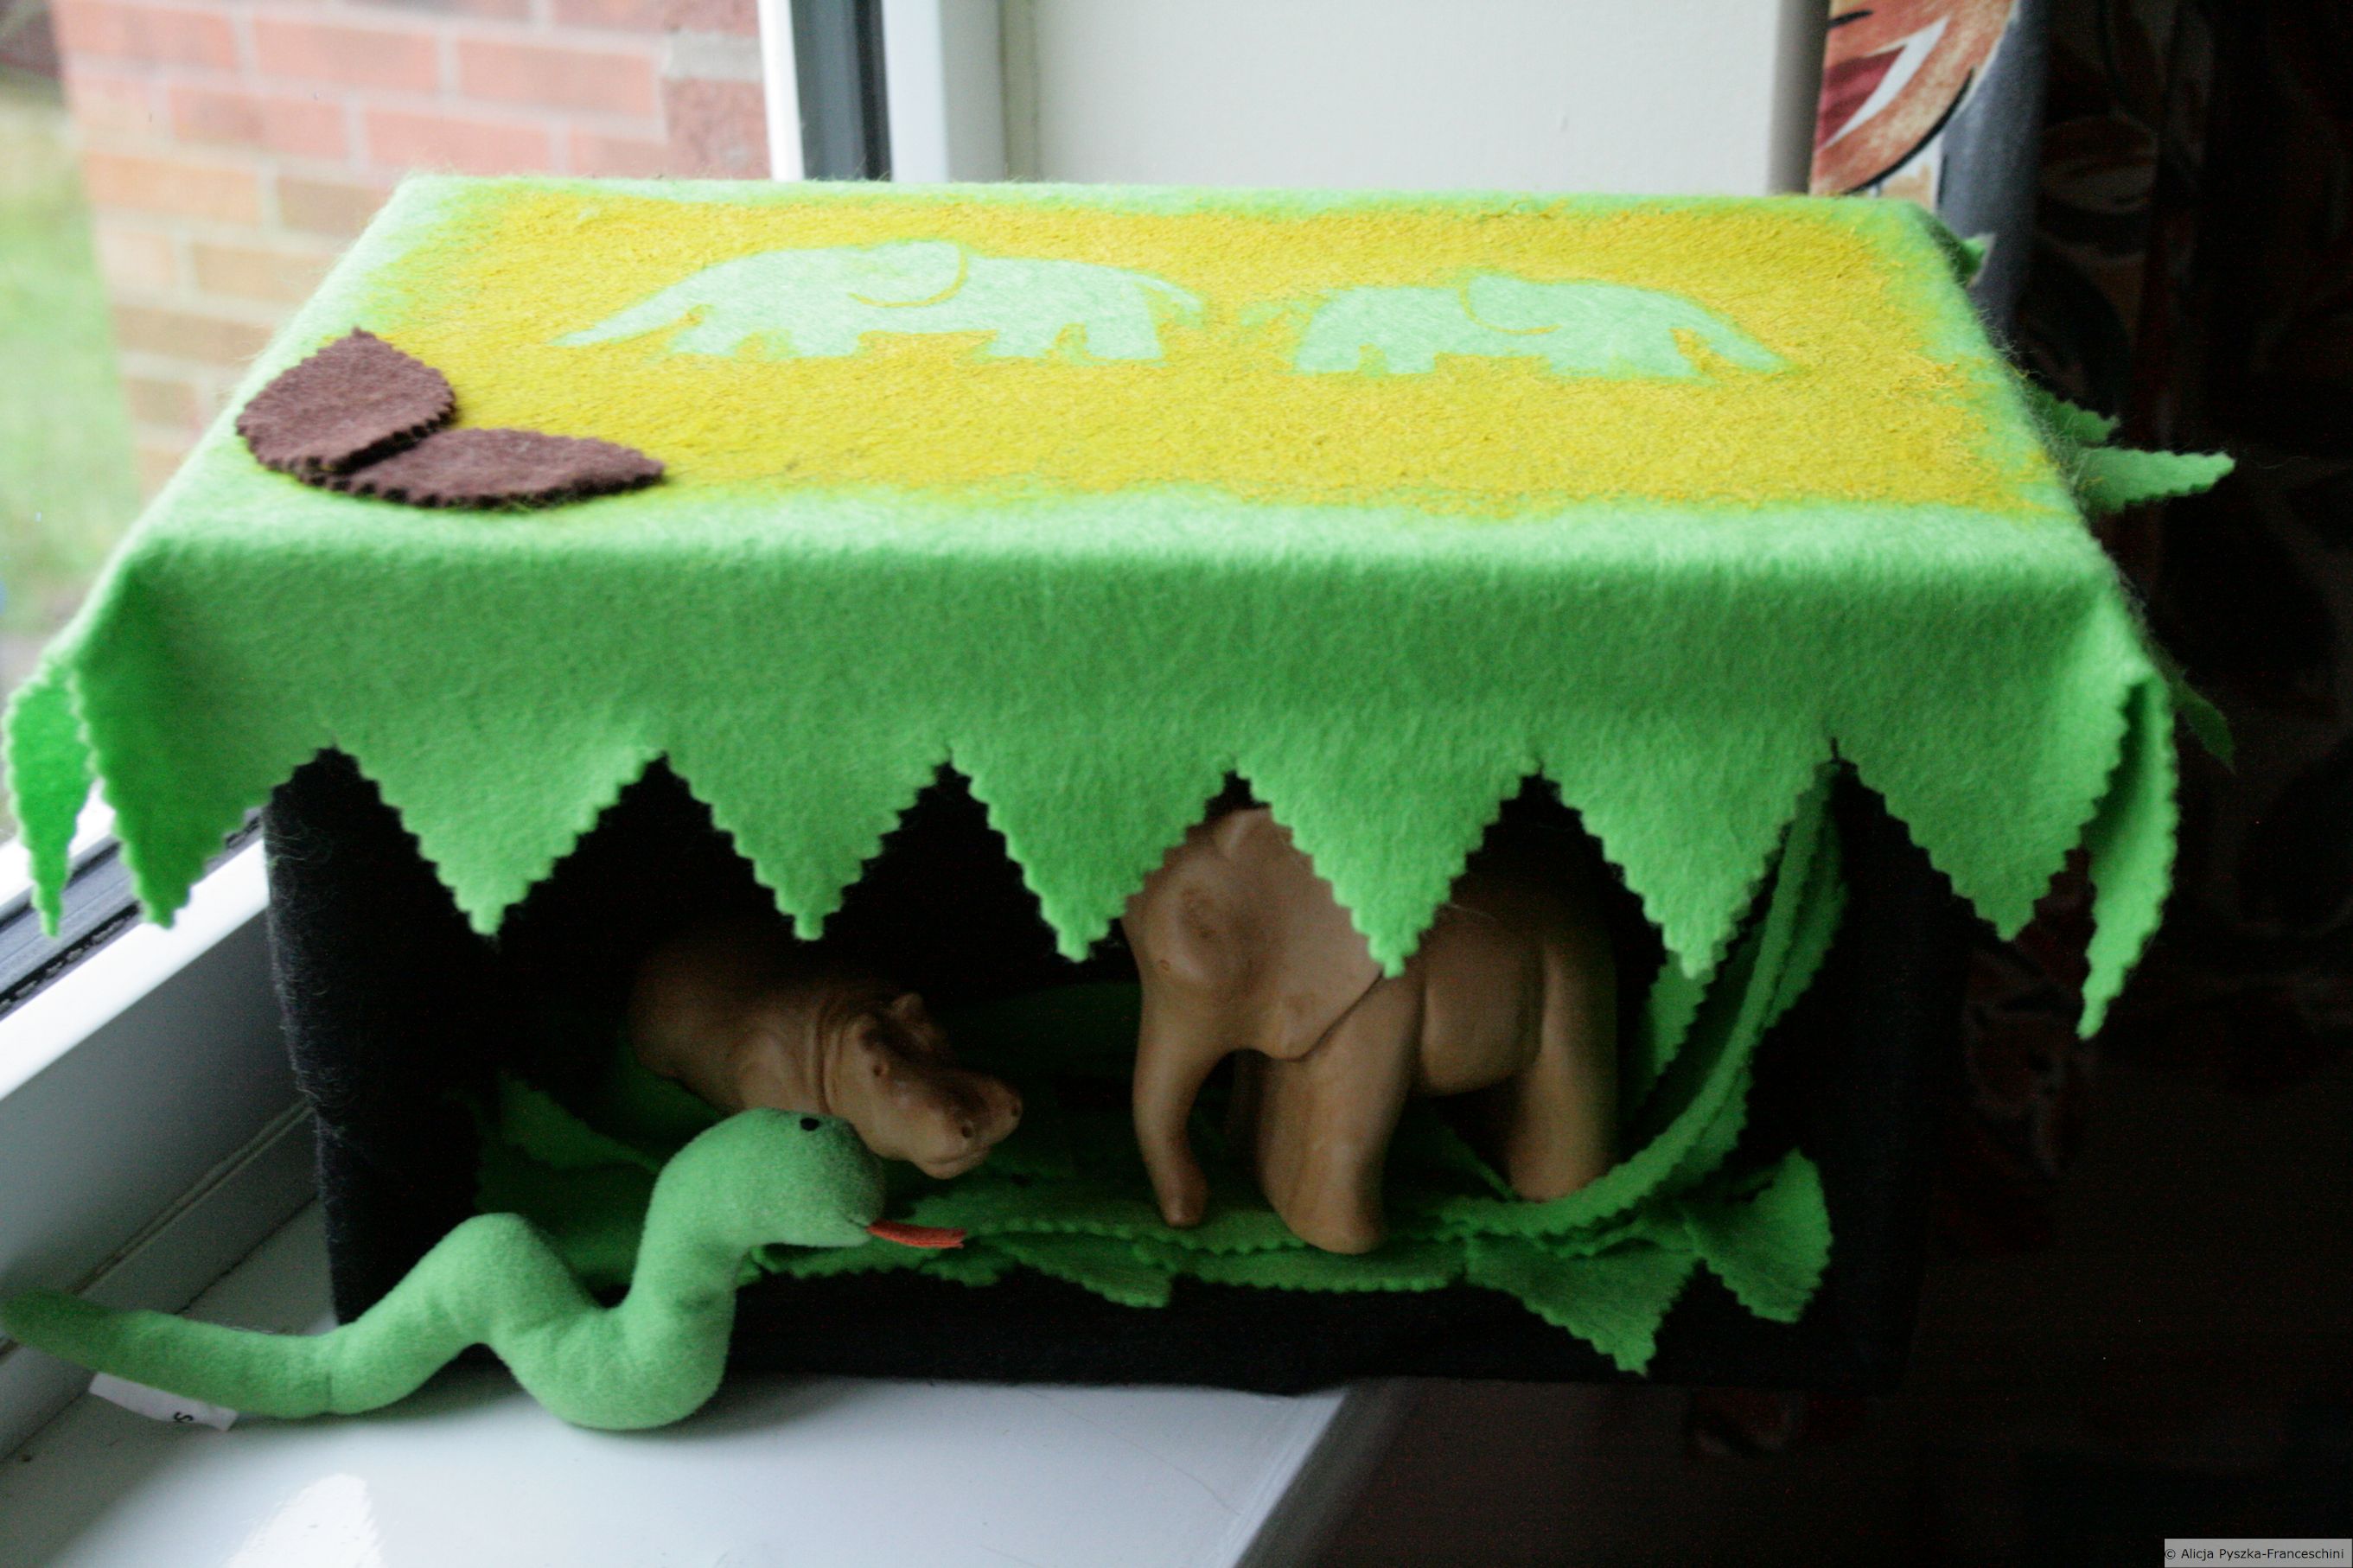
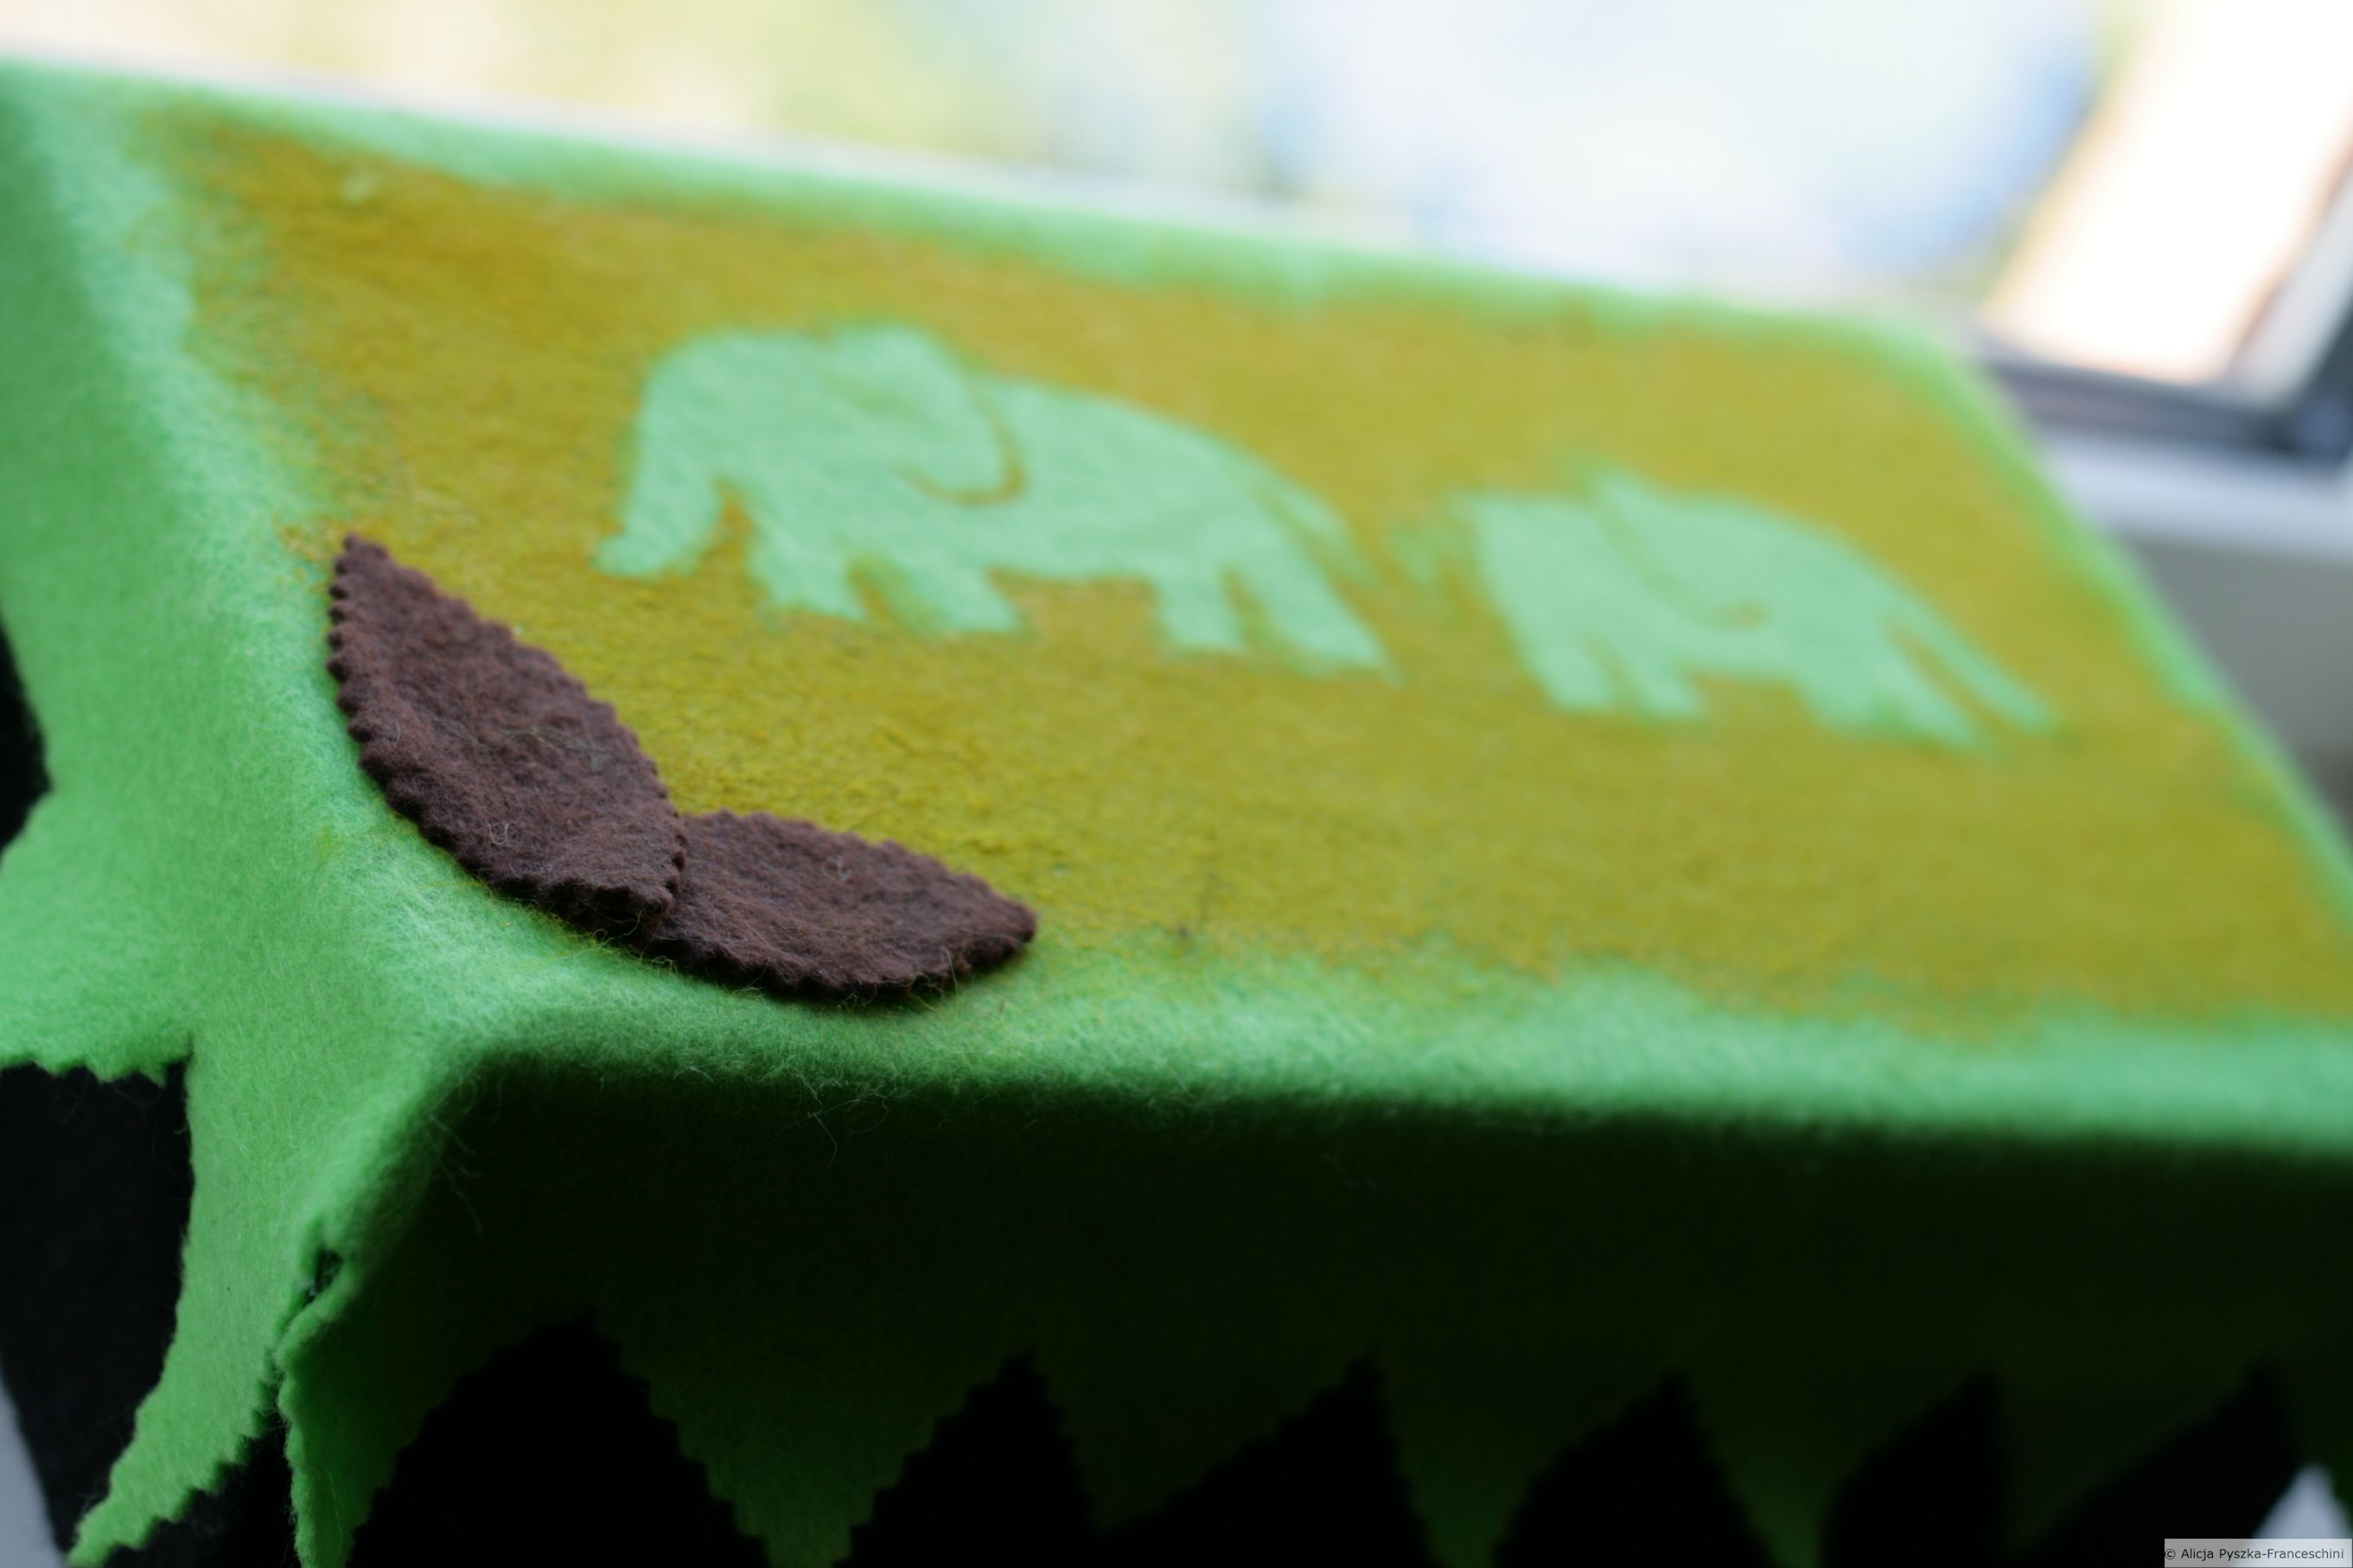
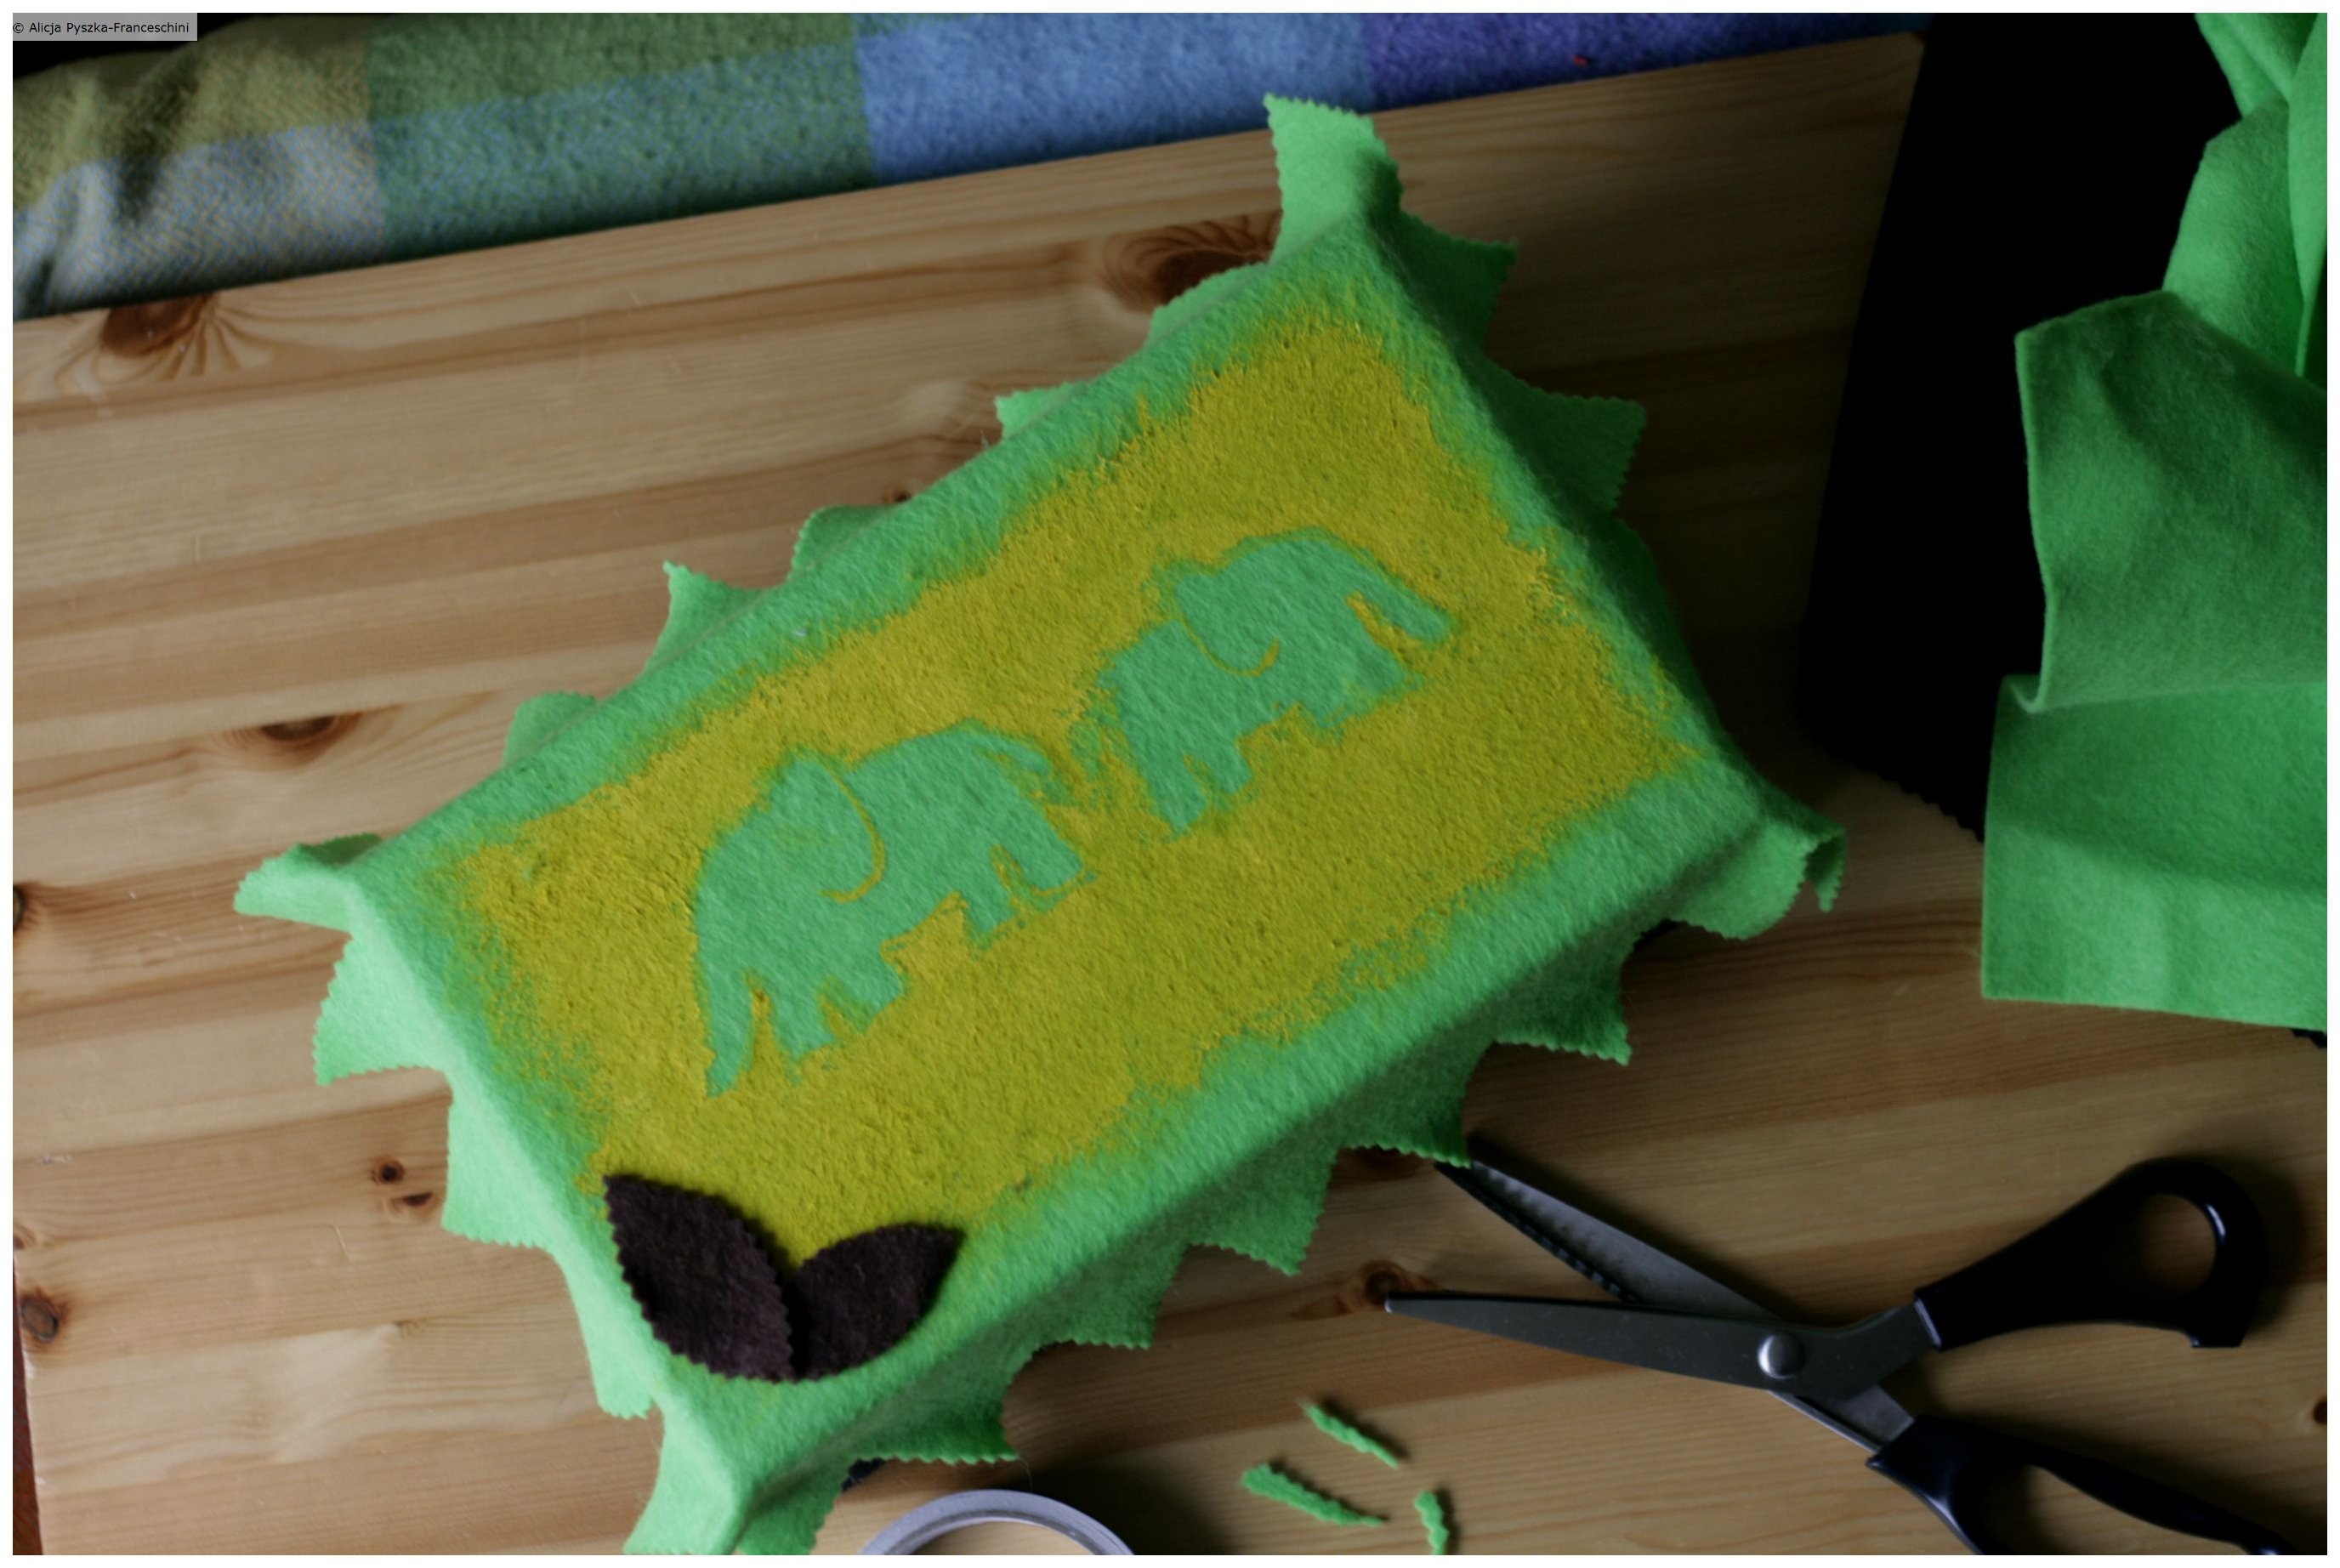
I used green felt to cover the top of the box.  I glued the felt to its flat horizontal surface and its side walls using the double-sided adhesive tape again. Around 3 cm of felt was hanging down from the side walls of the cover. I cut out small triangles on this hanging fabric using the pinking shears. And this is when I decided that it’s going to be a safari box. I left the off-cuts to use them for the grass and foliage inside it.

I remembered about an elephant stencil that I had in one of my books ( Stencils by Lotta Jansdotter) and decided to use it on the box. I tried it first on paper but it didn’t work very well when I wanted to fill the cut out with paint so instead I decided to use yellow paint on its edges and make an imprint on the cover. I corrected the imprint on the cover when it was required. (If you would like to do it for yourself you can just cut an elephant, a heart or a flower out of paper and try to paint around the edges. It will give the same effect.)

Next, I cut out two leaves out of brown felt and glued them to the cover.

I flipped the box on its side, glued the remaining scraps of the green felt to the bottom of the box and onto its one side. Cut out a red circle and glued it to the back to make it look like the sun. I looked for some animals in my son’s toy collection and placed them in the scene. (These can be made of paper too. No need to buy special animals for it.) Placed the box cover on top and here it is… a lovely safari to play with. Perfect for a good pretend play with your child or between your children during a rainy or sunny afternoon. :)

All I used was:

iron, 1 shoe box, felt in 3 different colours, self-adhesive tape, yellow paint, an elephant stencil, large binder clips, pinking shears and small toy animals (nothing new was bought for this project)

Safari przybory

folding felt making a safari boxadding colour and elephantsleavessafarism3safari smgrass and leaves

Nothing New Challenge was started by Sash at Inked in Colour. Have you visited her blog recently? It’s the most amazing place online I’ve come across so far. Have a peek, it’s well worth it.