


“Love is a fruit in season at all times, and within reach of every hand”. ~Mother Teresa
I hope you’re having a lovely day Lovely People!

“Love is a fruit in season at all times, and within reach of every hand”. ~Mother Teresa
I hope you’re having a lovely day Lovely People!


Ingredients:
3 eggs
150g butter (chop it into small cubes)
1/2 cup of caster sugar
1/4 cup of milk
300g plain white cake flour
3/4 cup of poppy-seeds
1.5 tsp bicarbonate of soda (if you are using self-raising flour, this is not needed)
3 tsps cream of tartar (if you are using self-raising flour, this is not needed)
1 to 2 tsps of icing
Preparation
1. Separate the white of egg from the yolks. Put the white of egg to the fridge (it is easier to whisk when cold)
2. Combine the egg yolks with the sugar and the butter until the butter appears melted and you have a good and fairly runny consistency. (If your butter is too hard, you can add a little bit of warm water to make it melt and mix quicker)
3. Add flour, milk and poppy seeds, cream of tartar and bicarbonate of soda. Mix everything thoroughly. Start warming up the oven – set it to 175°C.
4. When the oven is heating up, take the white of egg out of the fridge and in a separate bowl whisk the egg yolks into a firm foam. Pour the foam into the cake mixture and gently fold it into the cake mix. Do it until the whole mixture is well combined and little bubbles appear in it. (At this stage you can also add some flour if you think that you cake is too runny).
5. Butter your cake tin (or fill it up with greaseproof paper), pour in the cake mix and put it to the heated oven for about 55-65 minutes. If you put a knife into your cake and the blade comes clean that means the cake is ready. If your mixture was quite wet or you have used a different cake tin, it might take a bit longer to bake.
6. When the cake cools, you can decorate it with some icing powder. I use my small tea leaf holder for this purpose. It helps me to sprinkle the powder evenly on the cake:)
Share and Enjoy!

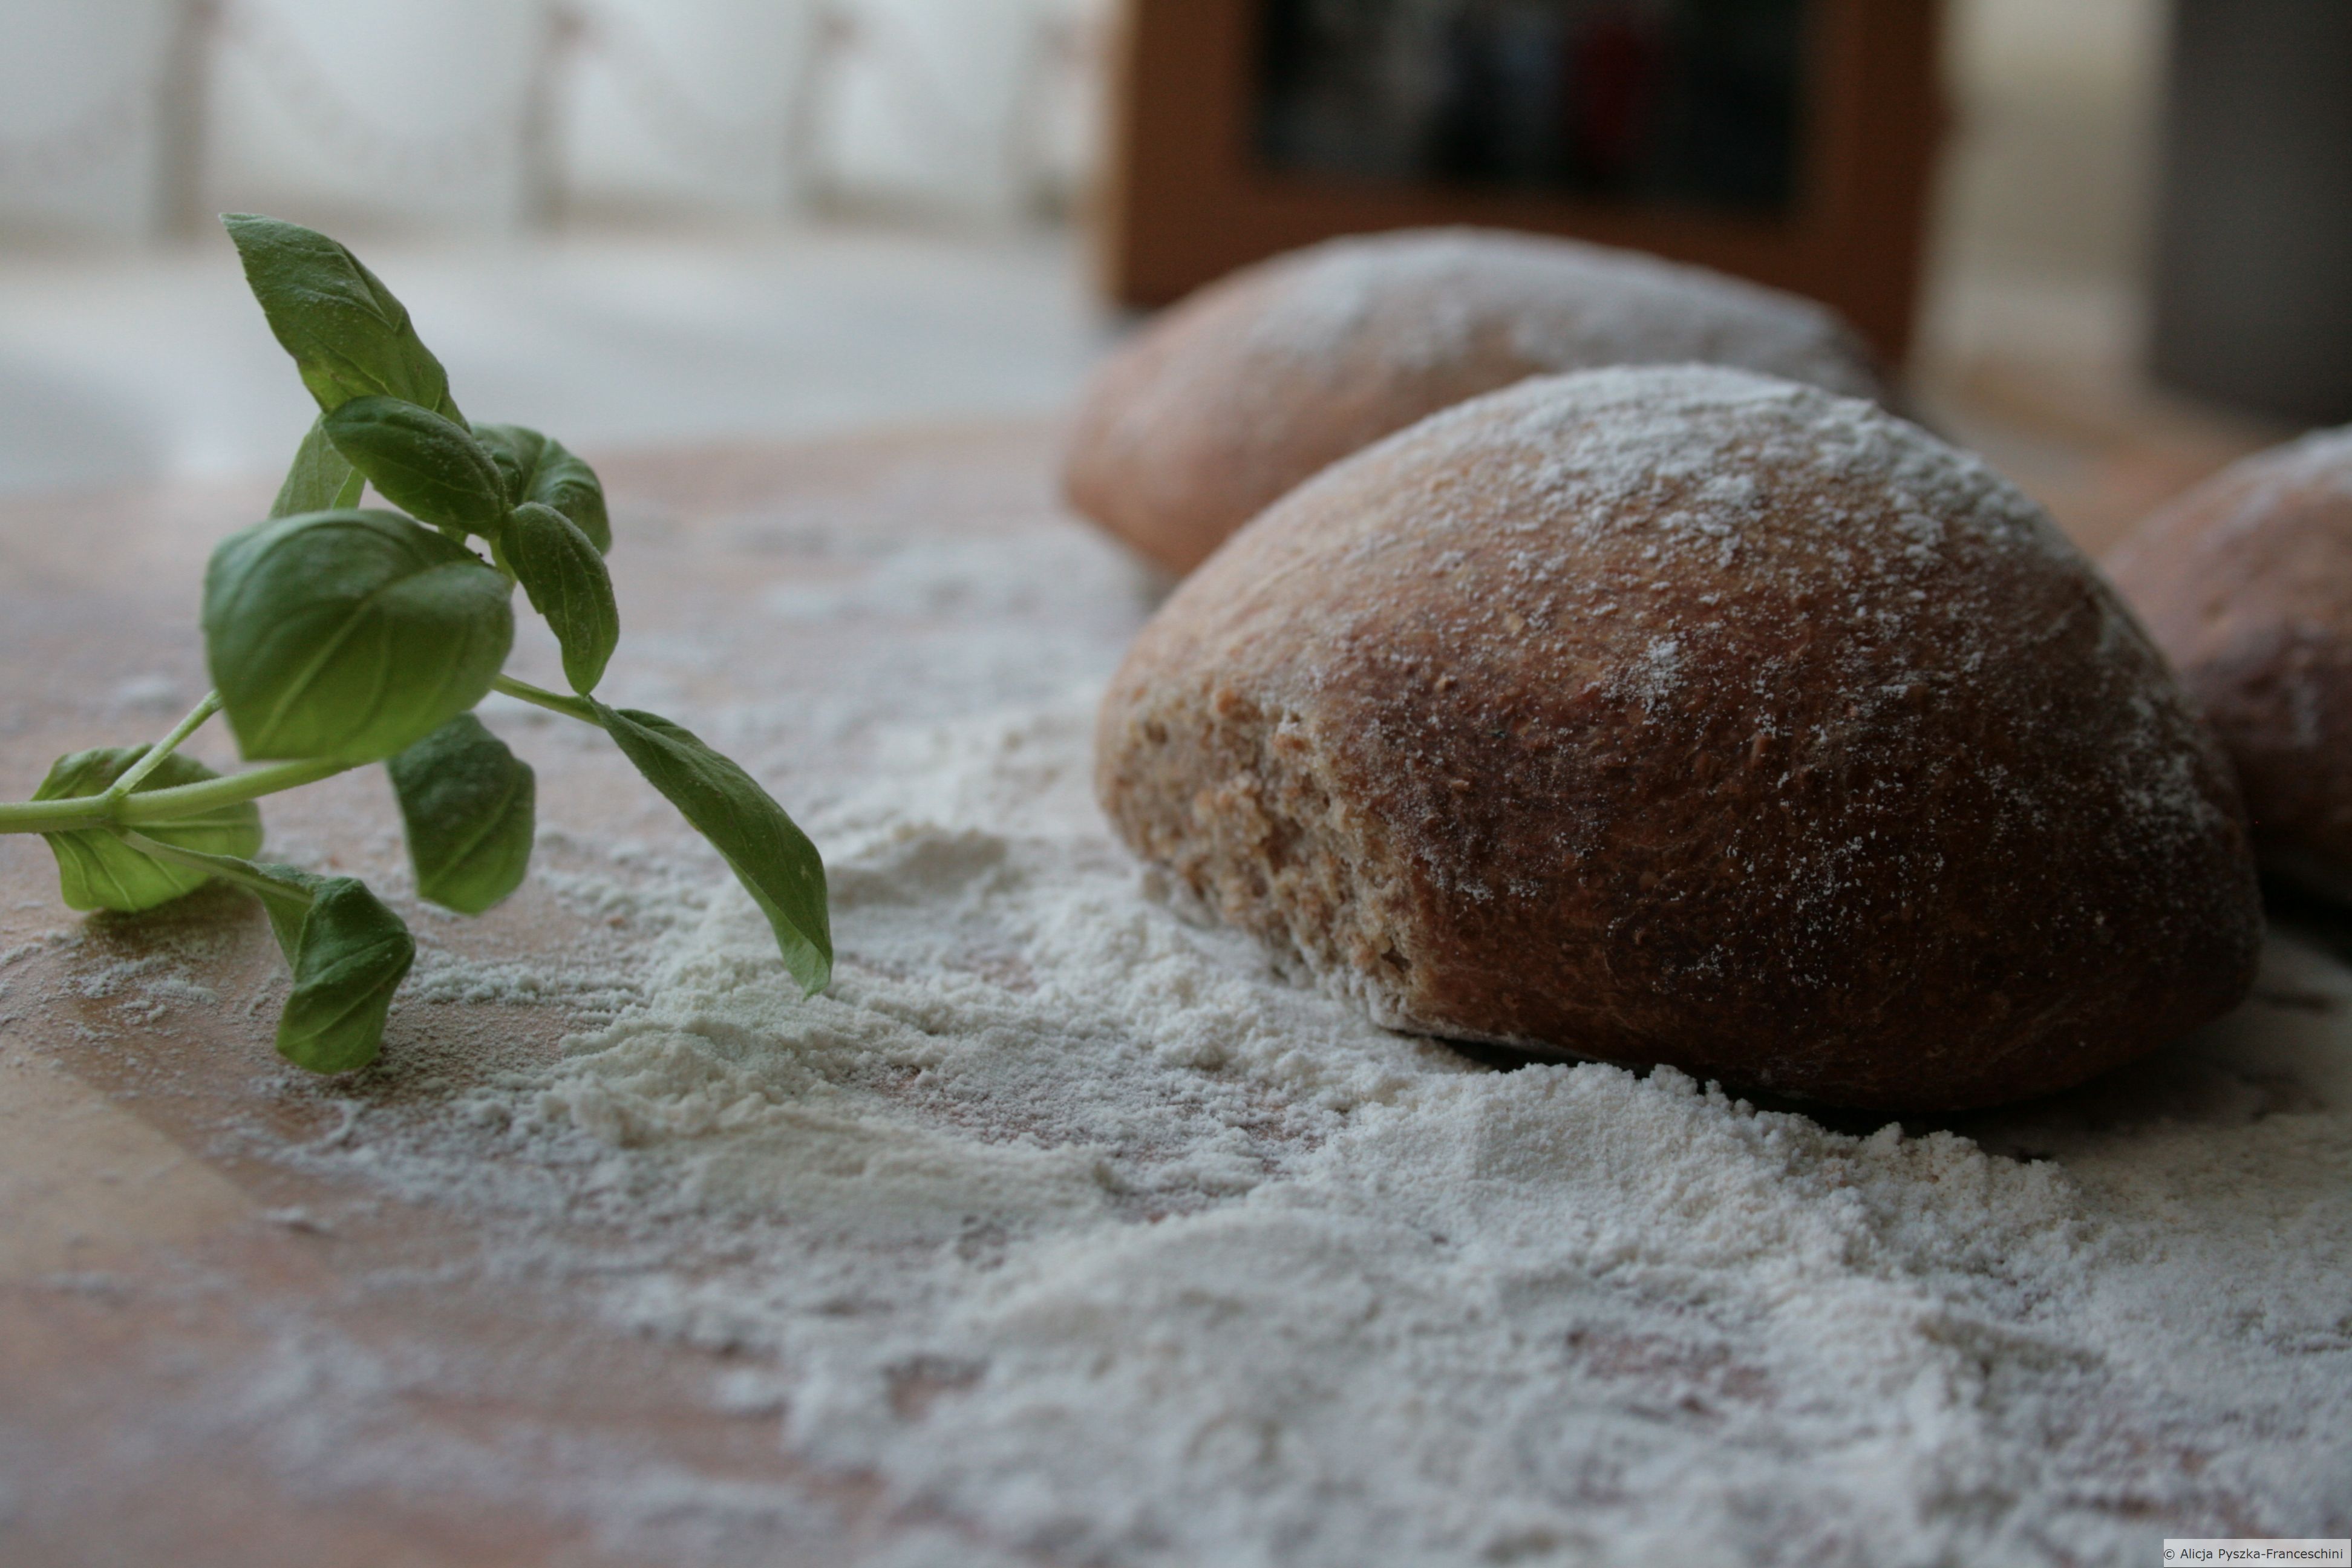
Wanted. Loved. Devoured daily. But messed with on a big scale too. Only a few decades ago in the UK its “particularly interesting” example was so white that it appeared almost luminous. People marveled over its brighter than chalk tint. The astonishing hue was mesmerizing and very few questioned its look. This was a mistake. Chlorine dioxide gas was nothing but a type of bleach used in the UK’s bread till 1999 when the government decided to put a ban on it (Whitley, 2006).
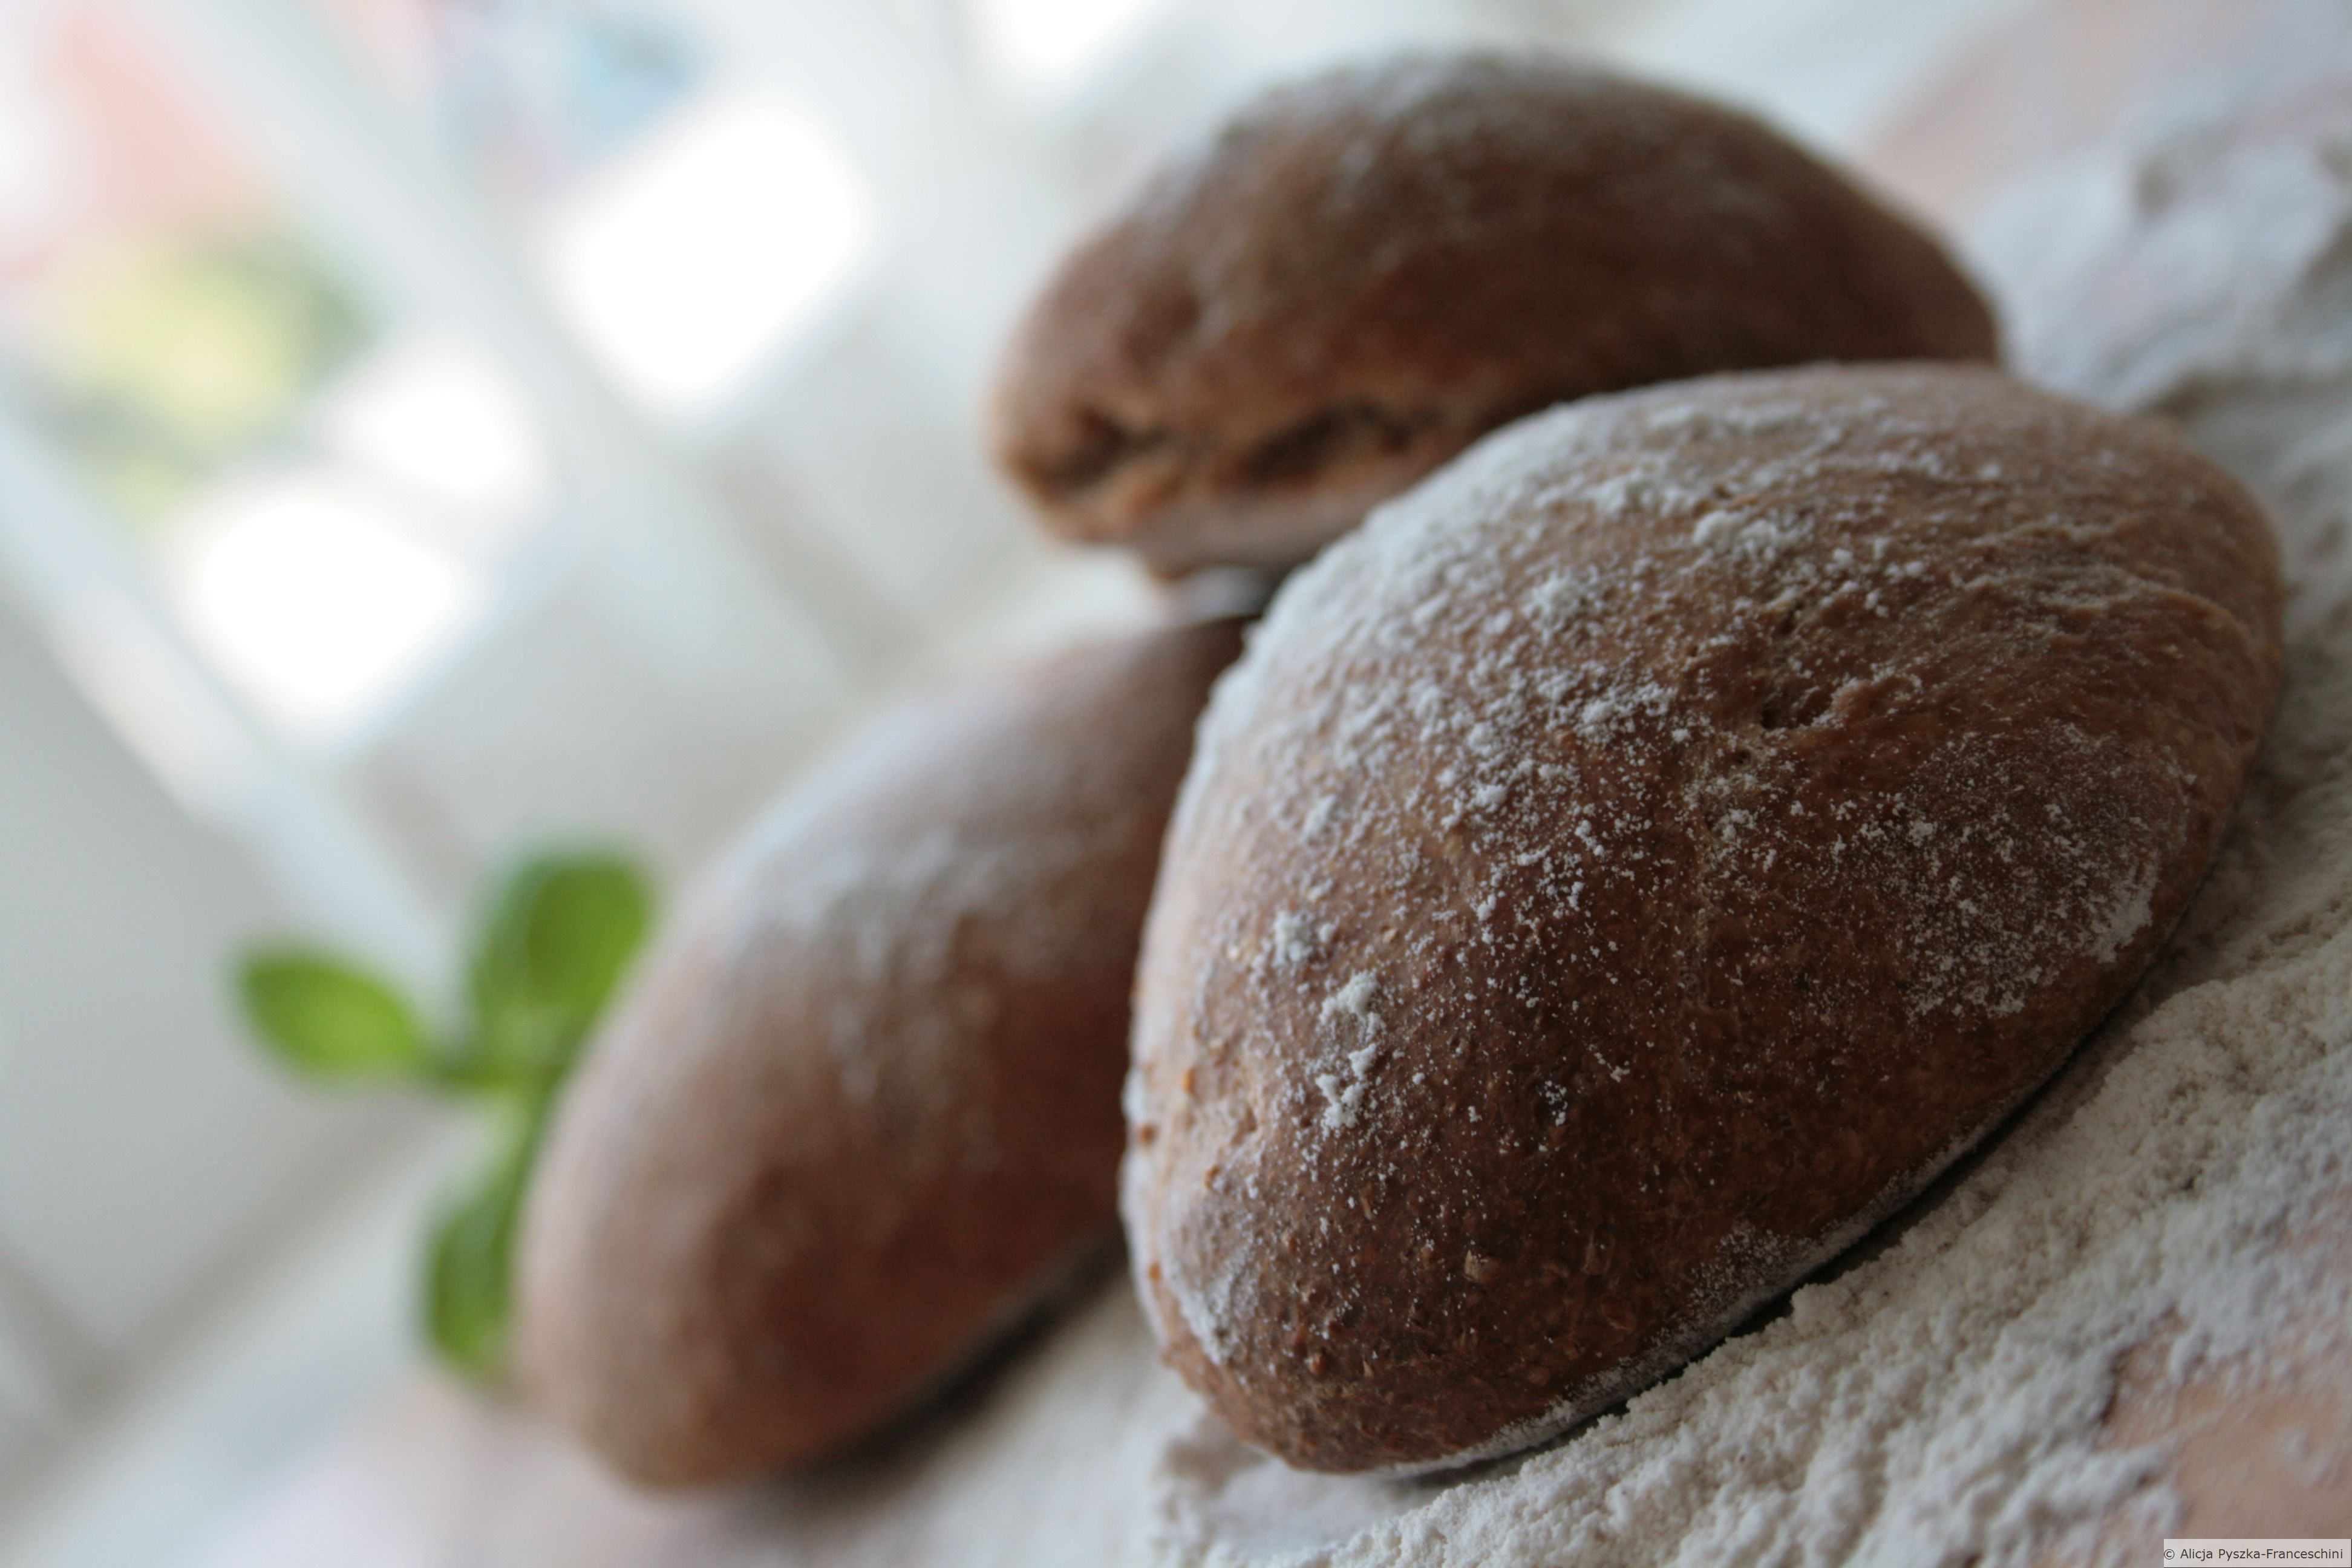
There is no chlorine dioxide in the UK’s bread today but there are still many bleaching agents, additives, preservatives and enzymes that aim to artificially enhance the taste and the look of bread, decrease its mixing and baking time and superficially boost the volume of the bread. In his book Bread Matters, Andrew Whitley gives a very long list of various enzymes (and their effects) that are used in making bread dough: Maltogenic amalyse, Peptidase, Amylase, Xylanase and many more (the names in themselves sound terrifying, don’t they?). Most breads also contain emulsifiers. Their job is to prevent the loaf from going stale too quickly. These and other supplements compromise the nutritional value of many loaves that we eat. No wonder therefore that there are more and more people who are deciding to go back to basics and who are learning to knead the bread again within the corners of their kitchens and who are finding enormous joy in doing so. Maybe it’s because they are creative with making different bread shapes (buns, rolls, loaves and flat breads), with using different flour compositions (wholemeal, white, rye, spelt, malted wheat flakes) and with putting their favourite ‘stuffing’ (sunflower seeds, sun-dried tomatoes, dates, pumpkin seeds, olives) into their breads. We do that too and I must say there is something very satisfying about baking your own bread… perhaps it is its comforting smell or the appealing symbolism that bread-making conveys… that of motherhood and that of life, strength and resilience. (More Images and Recipe Below)
Bread Recipe:
Ingredients:
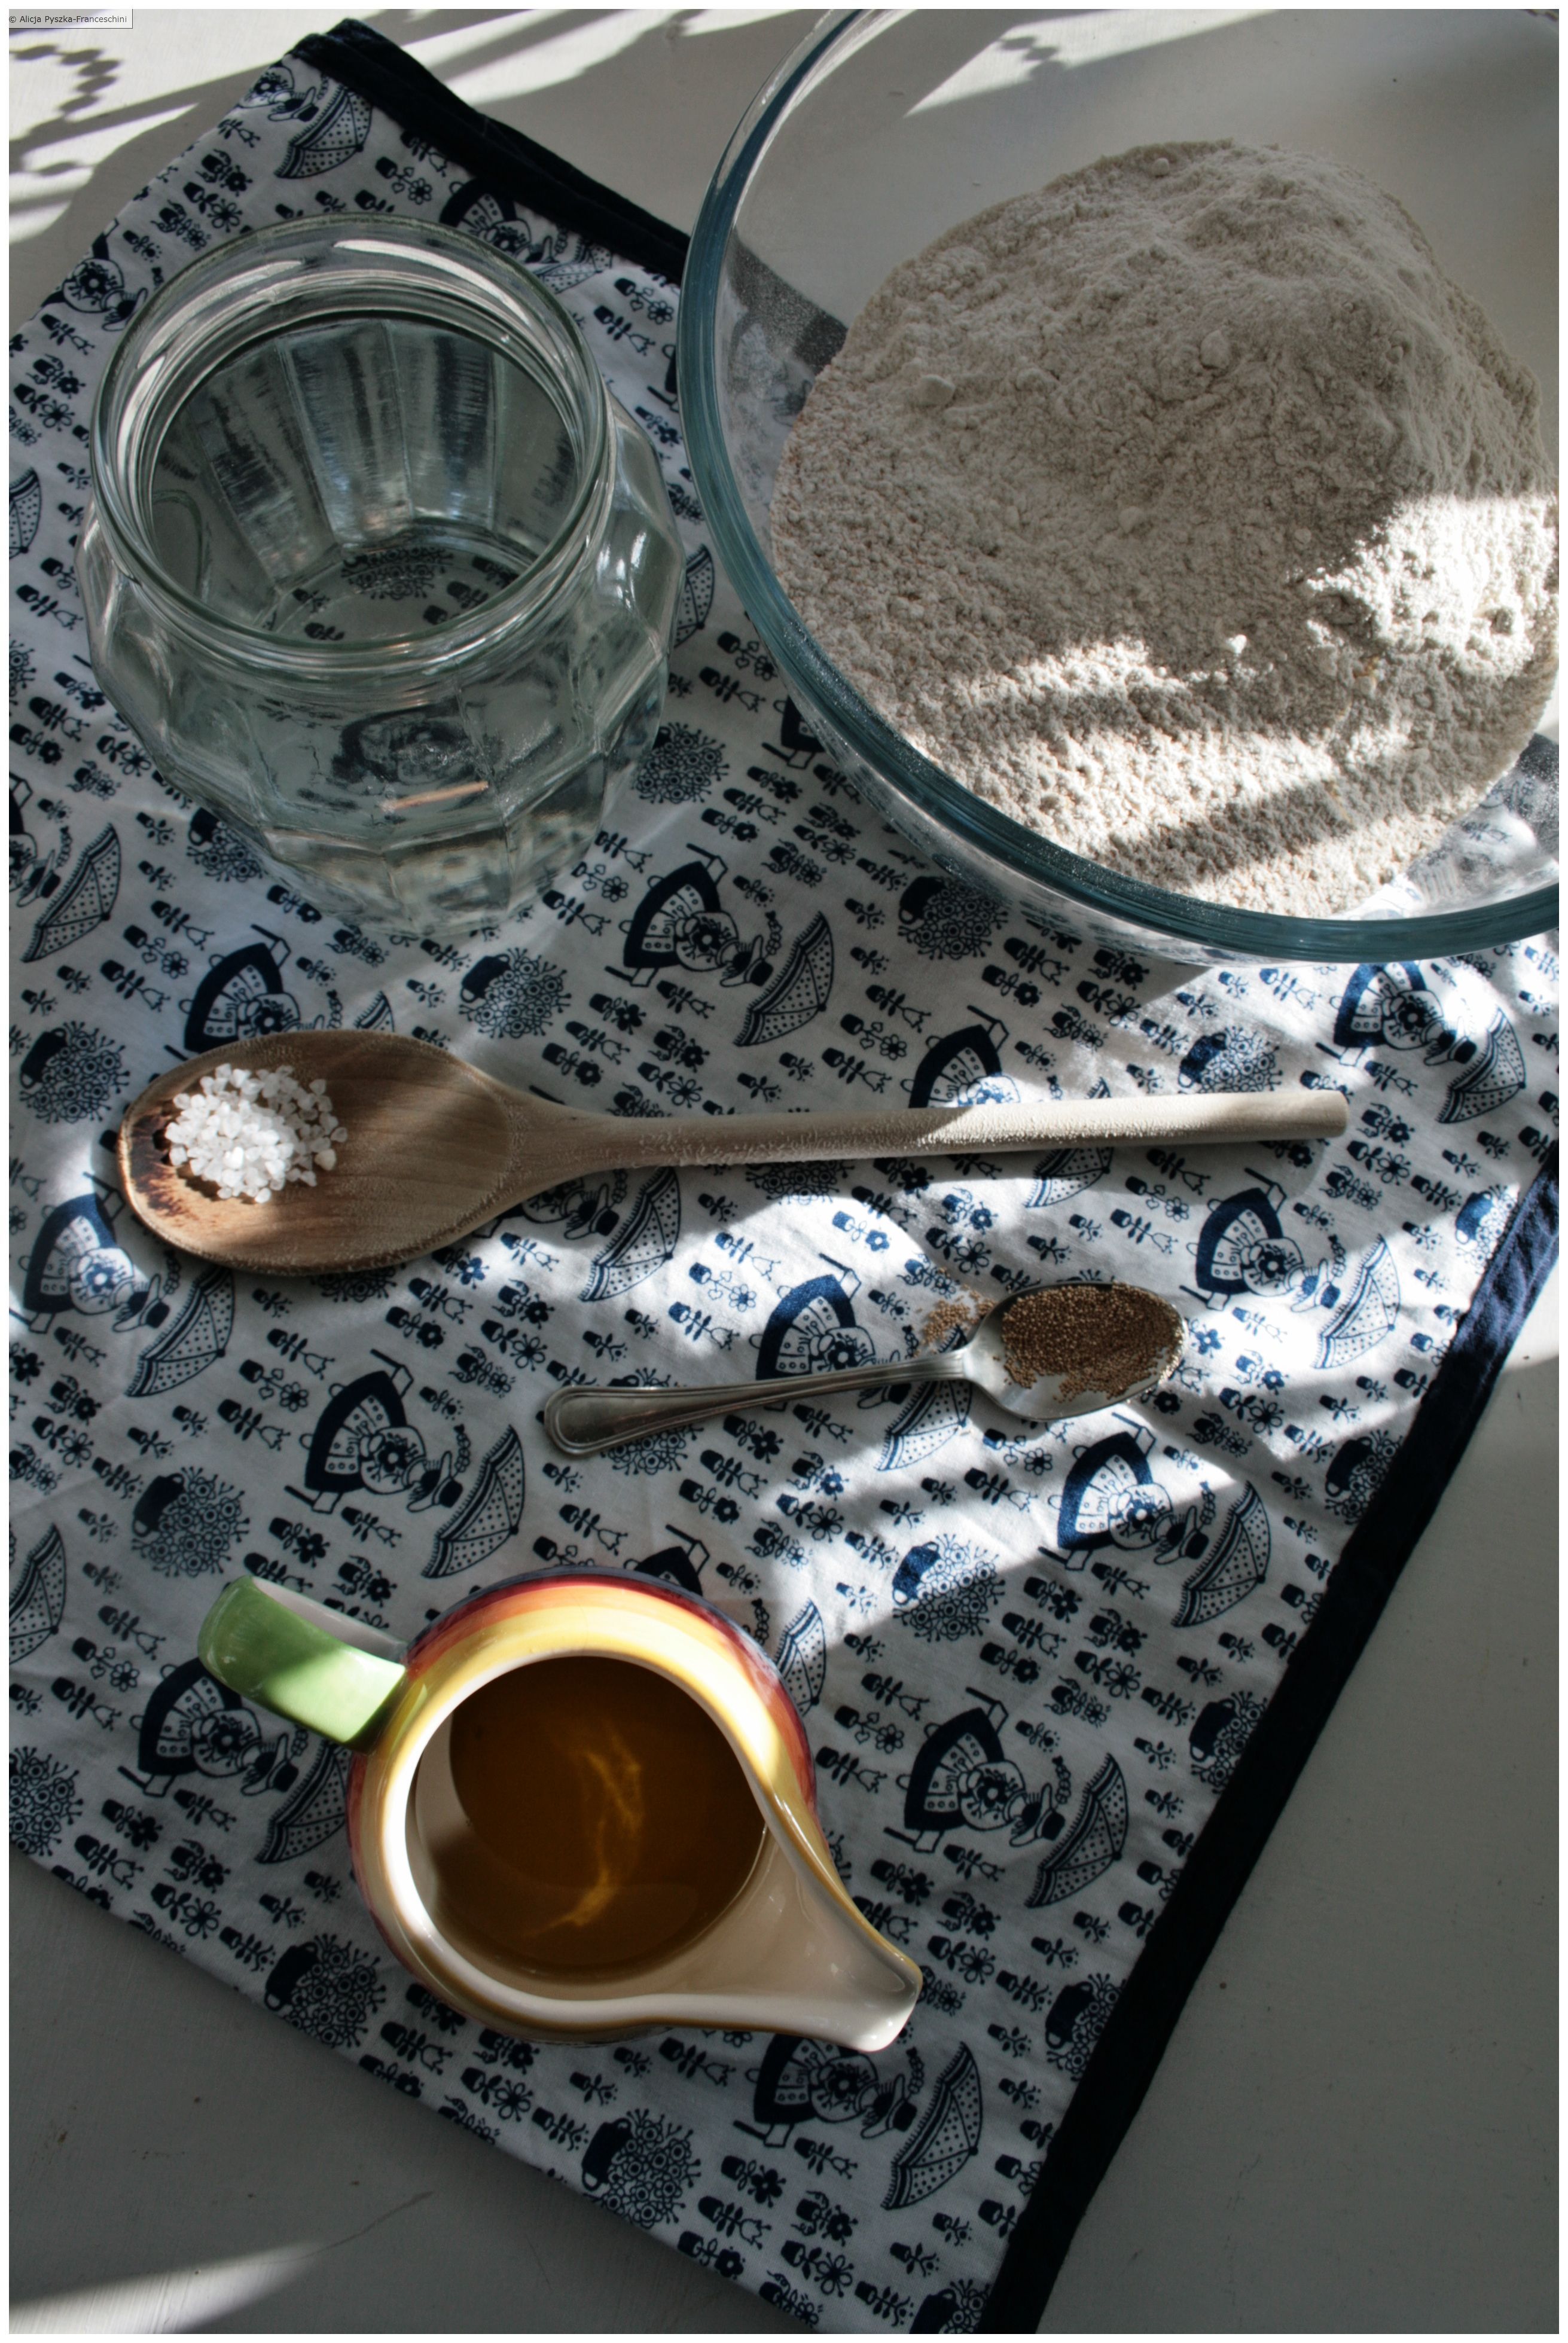
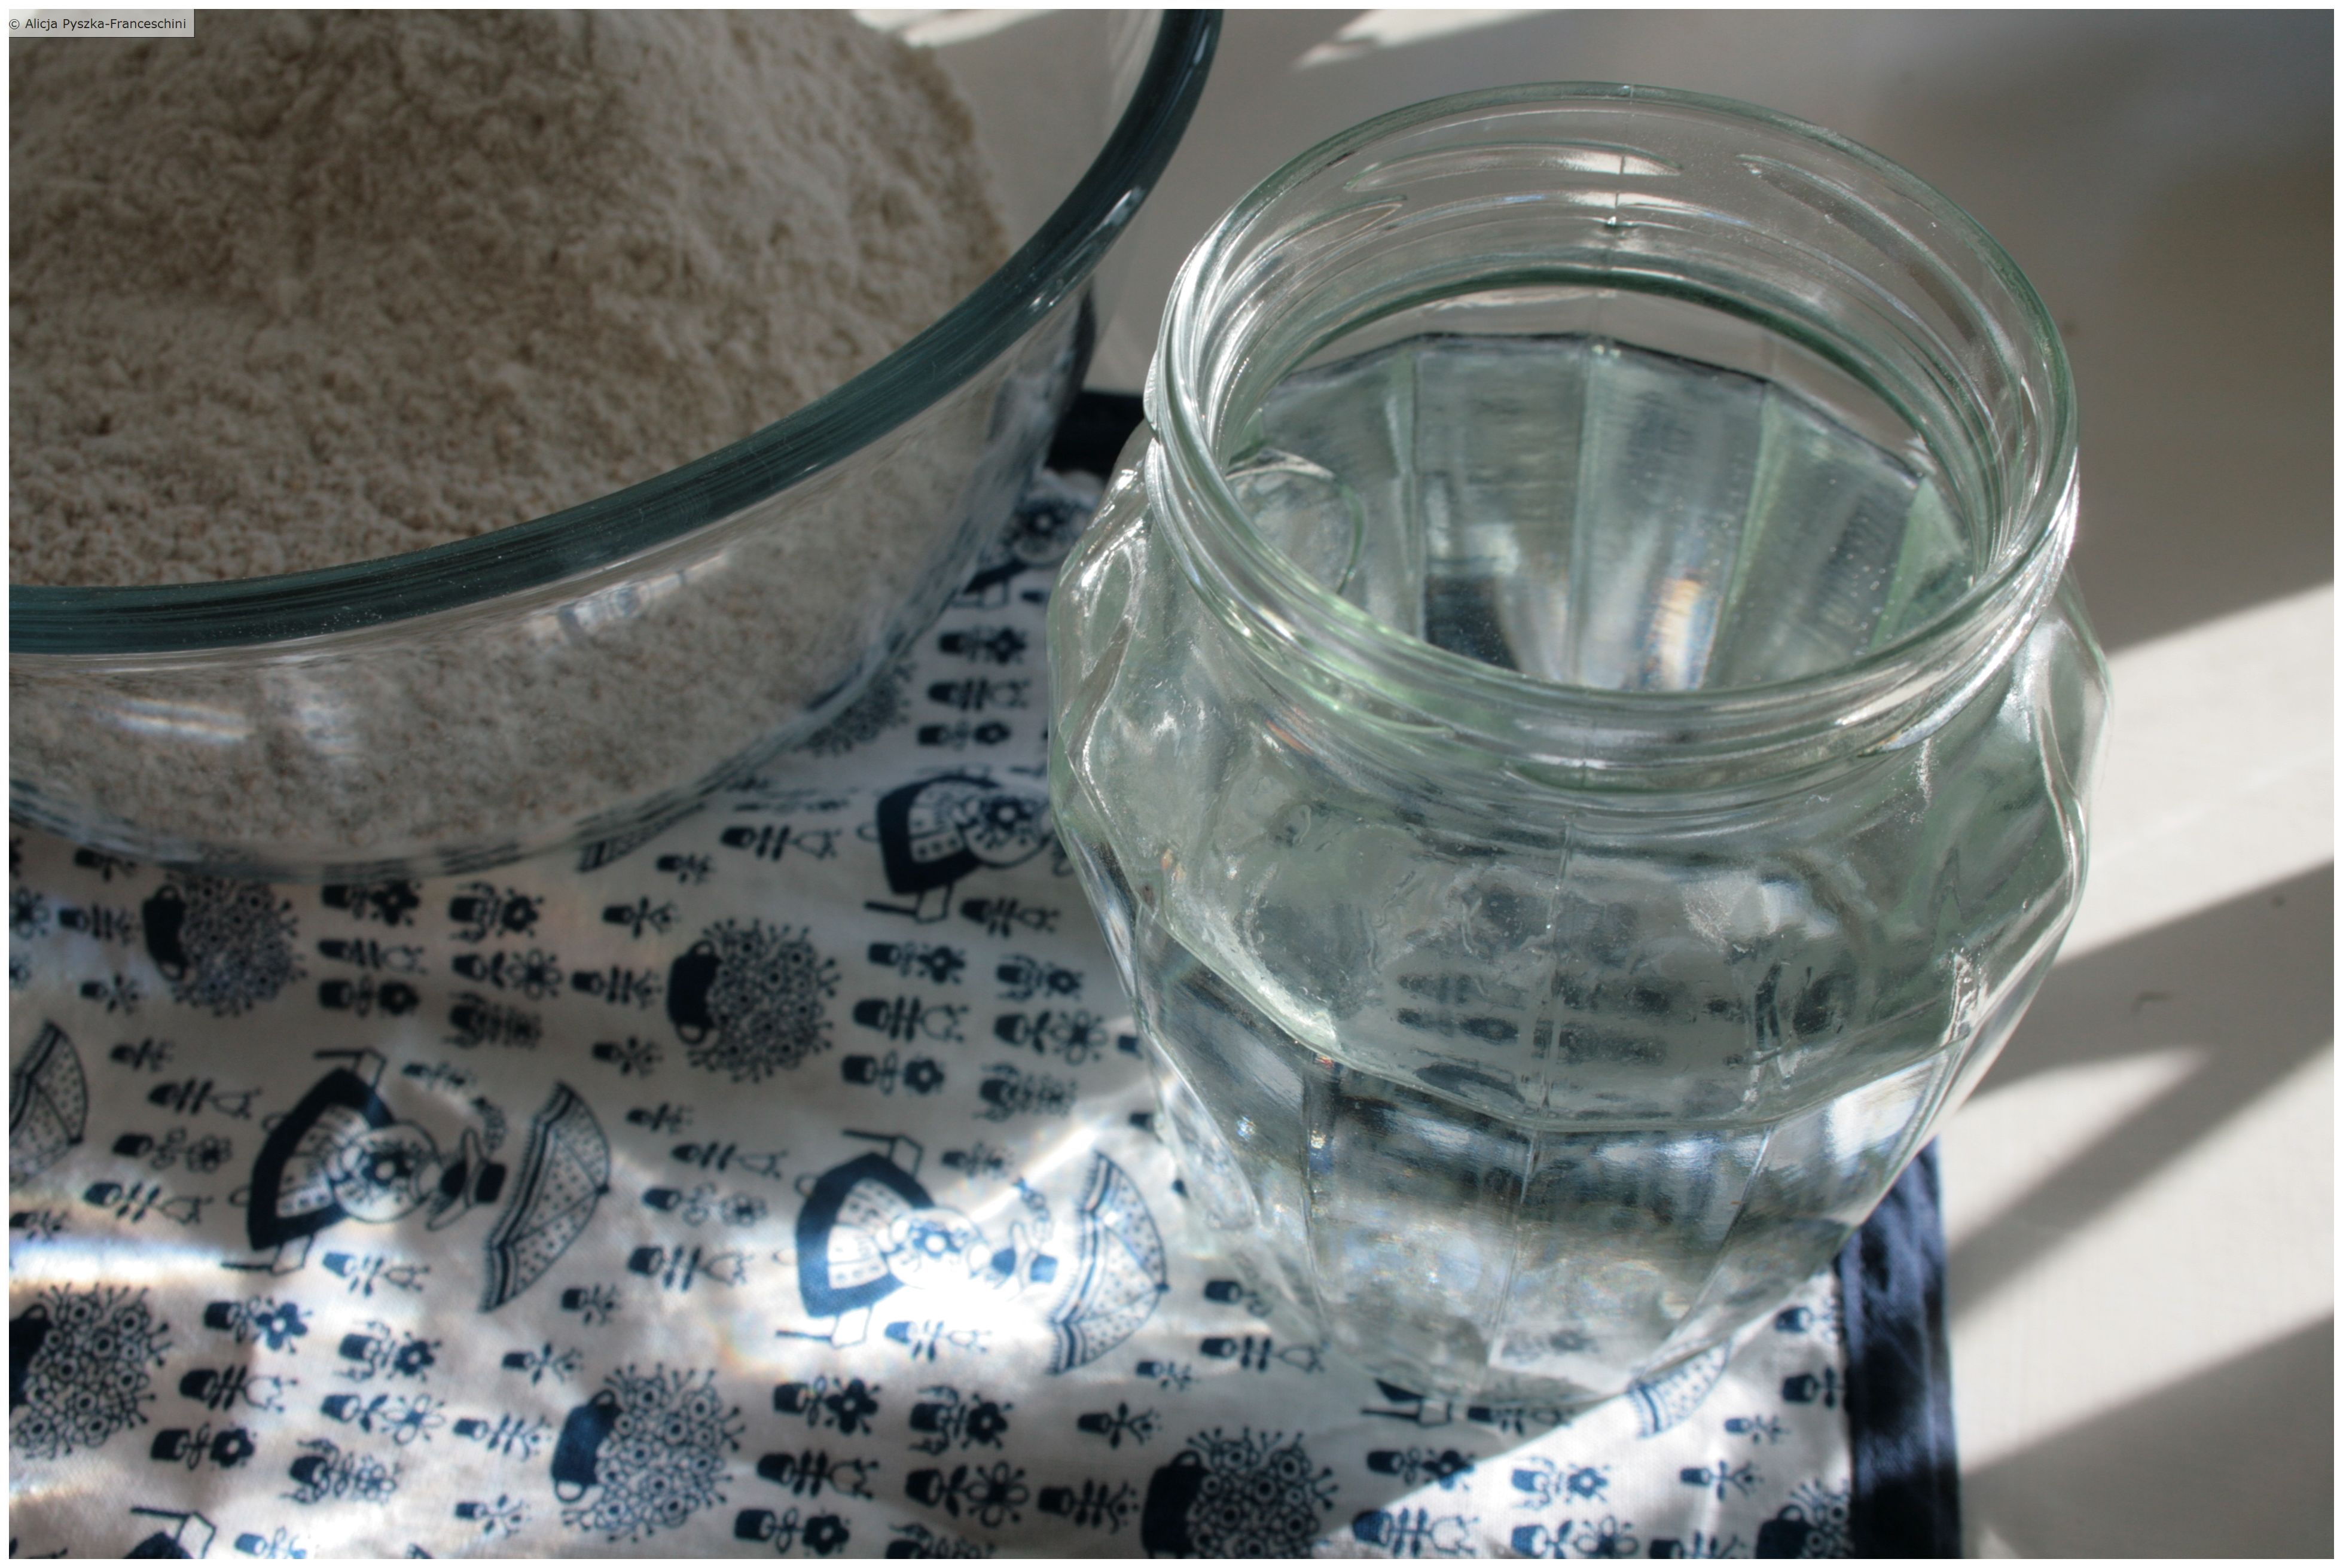
250g Strong White Flour
250g Strong Wholemeal Flour
100g Malthouse Flour also known as Granary or malted wheat grain (it’s optional, but greatly enriches the flavour)
400-500ml Water
1 Teaspoon of Dried Yeast
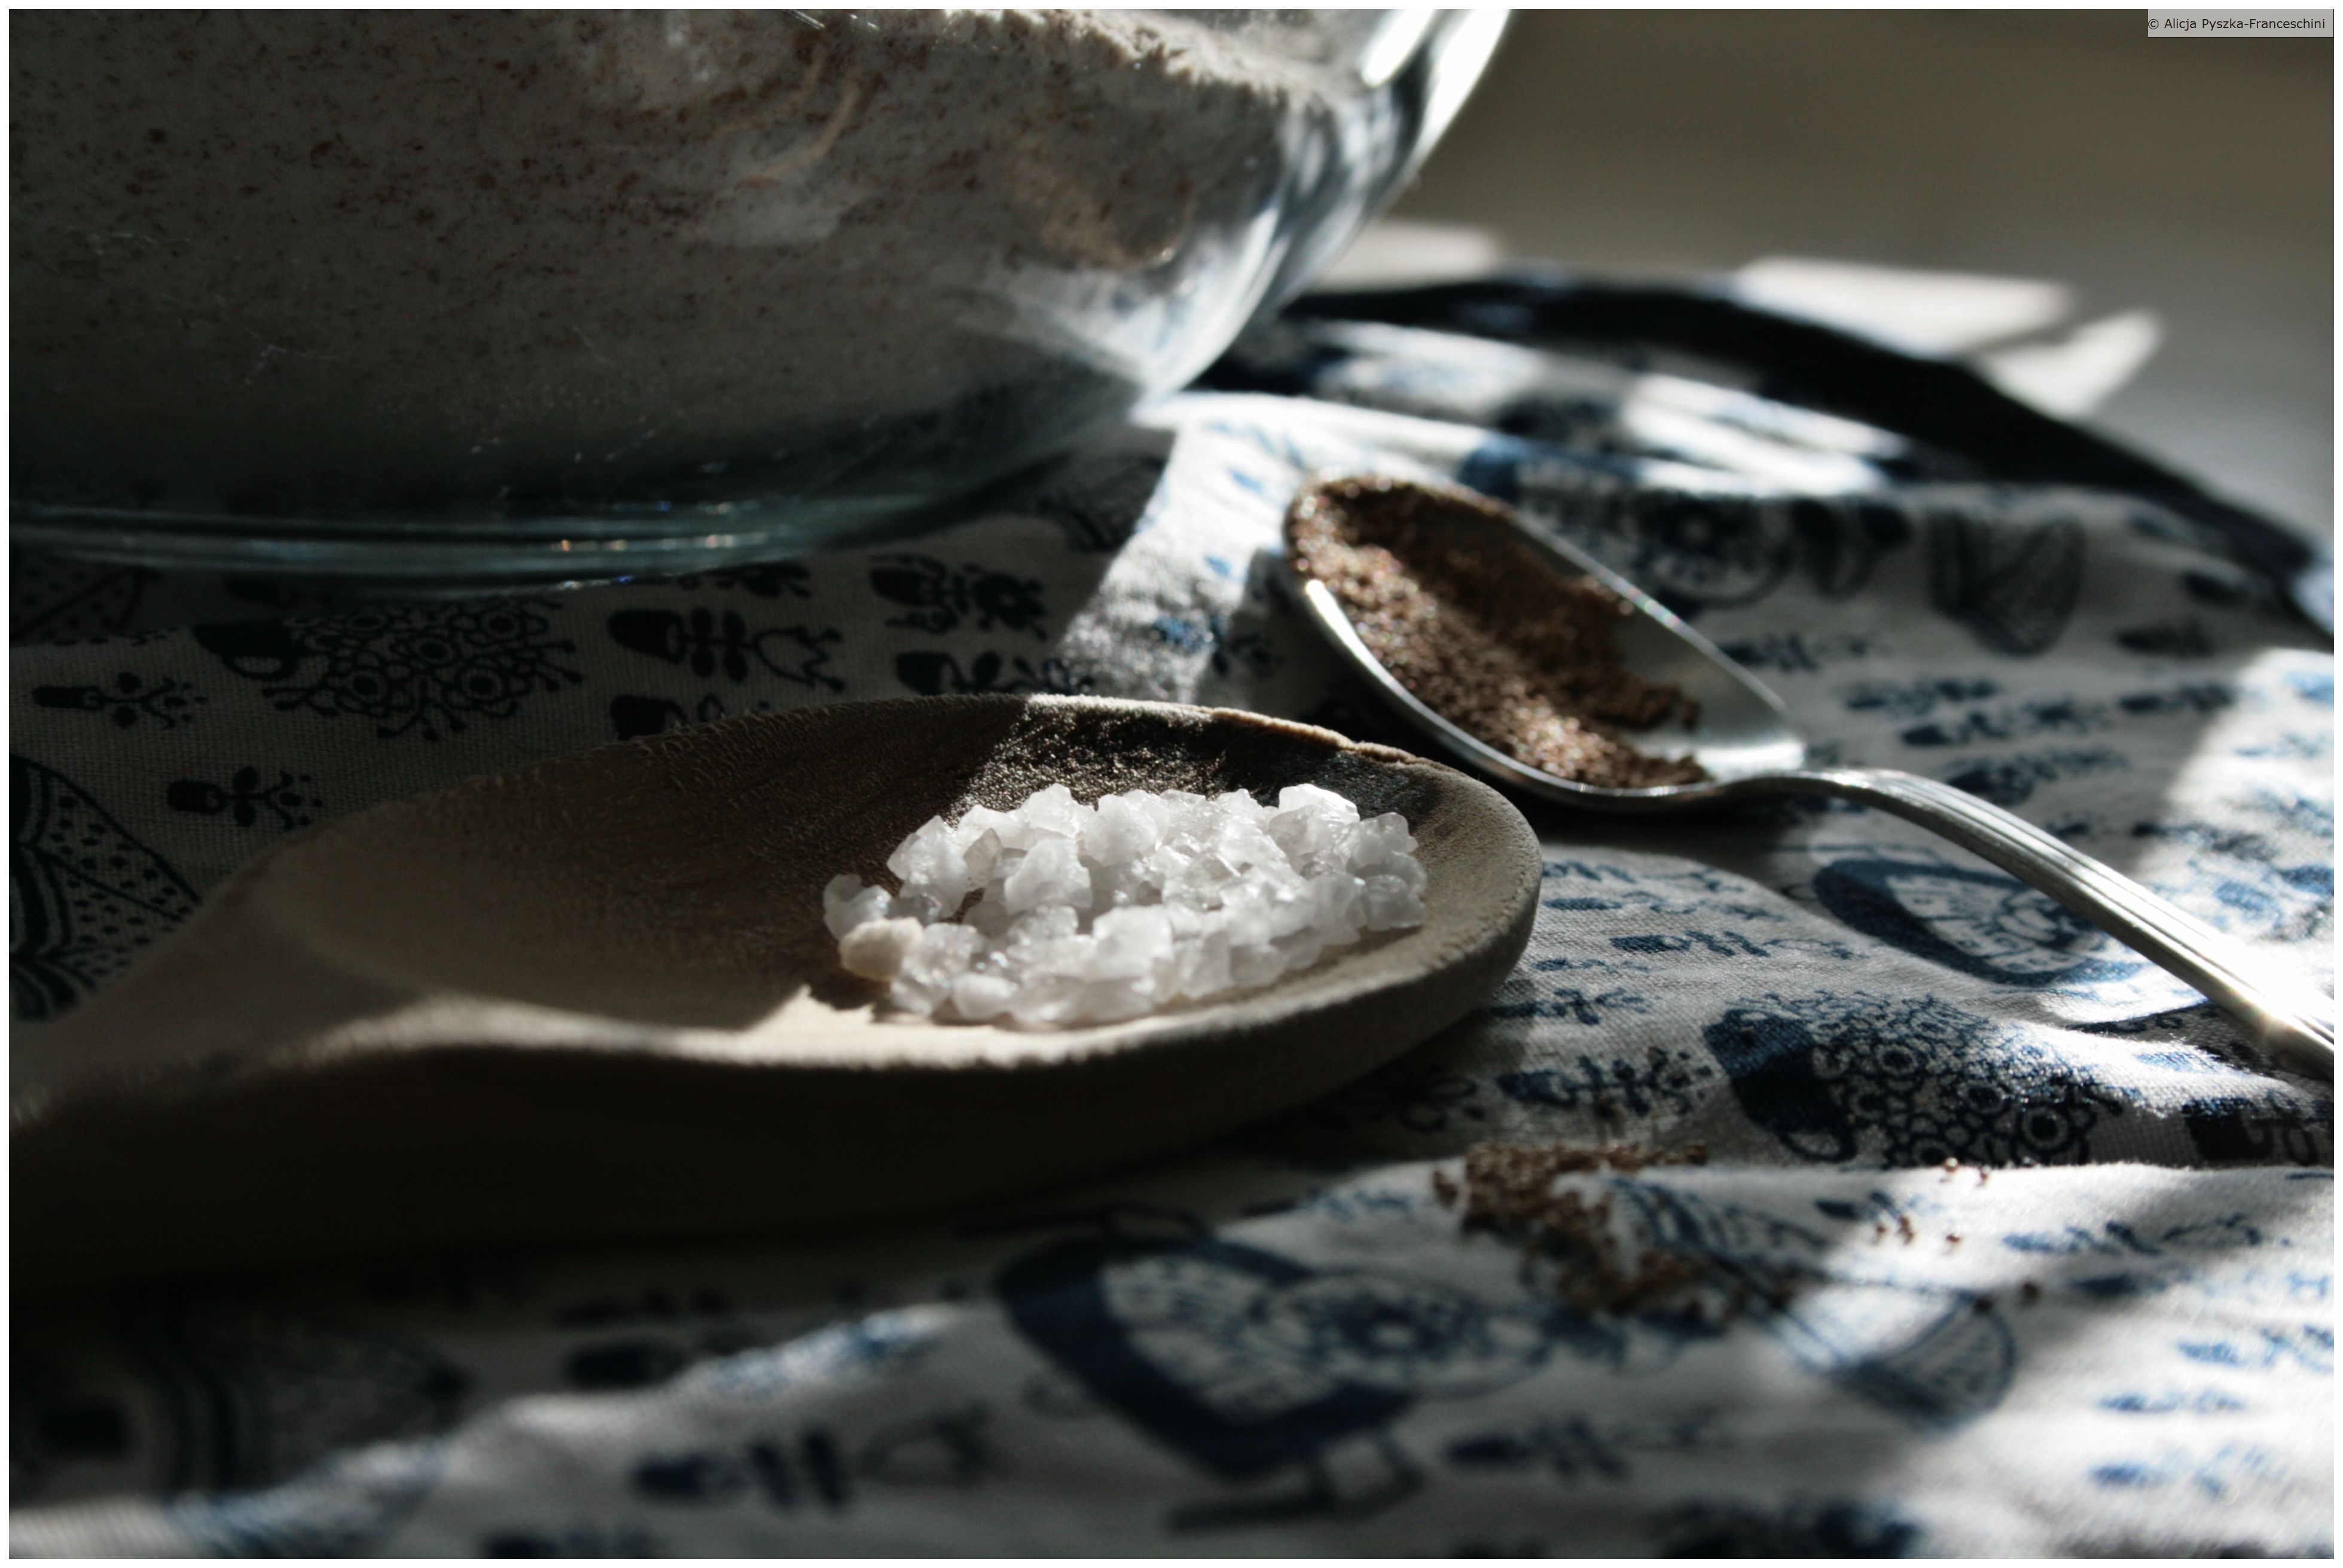
1 to 2 Teaspoon of Salt
25-50ml Olive Oil
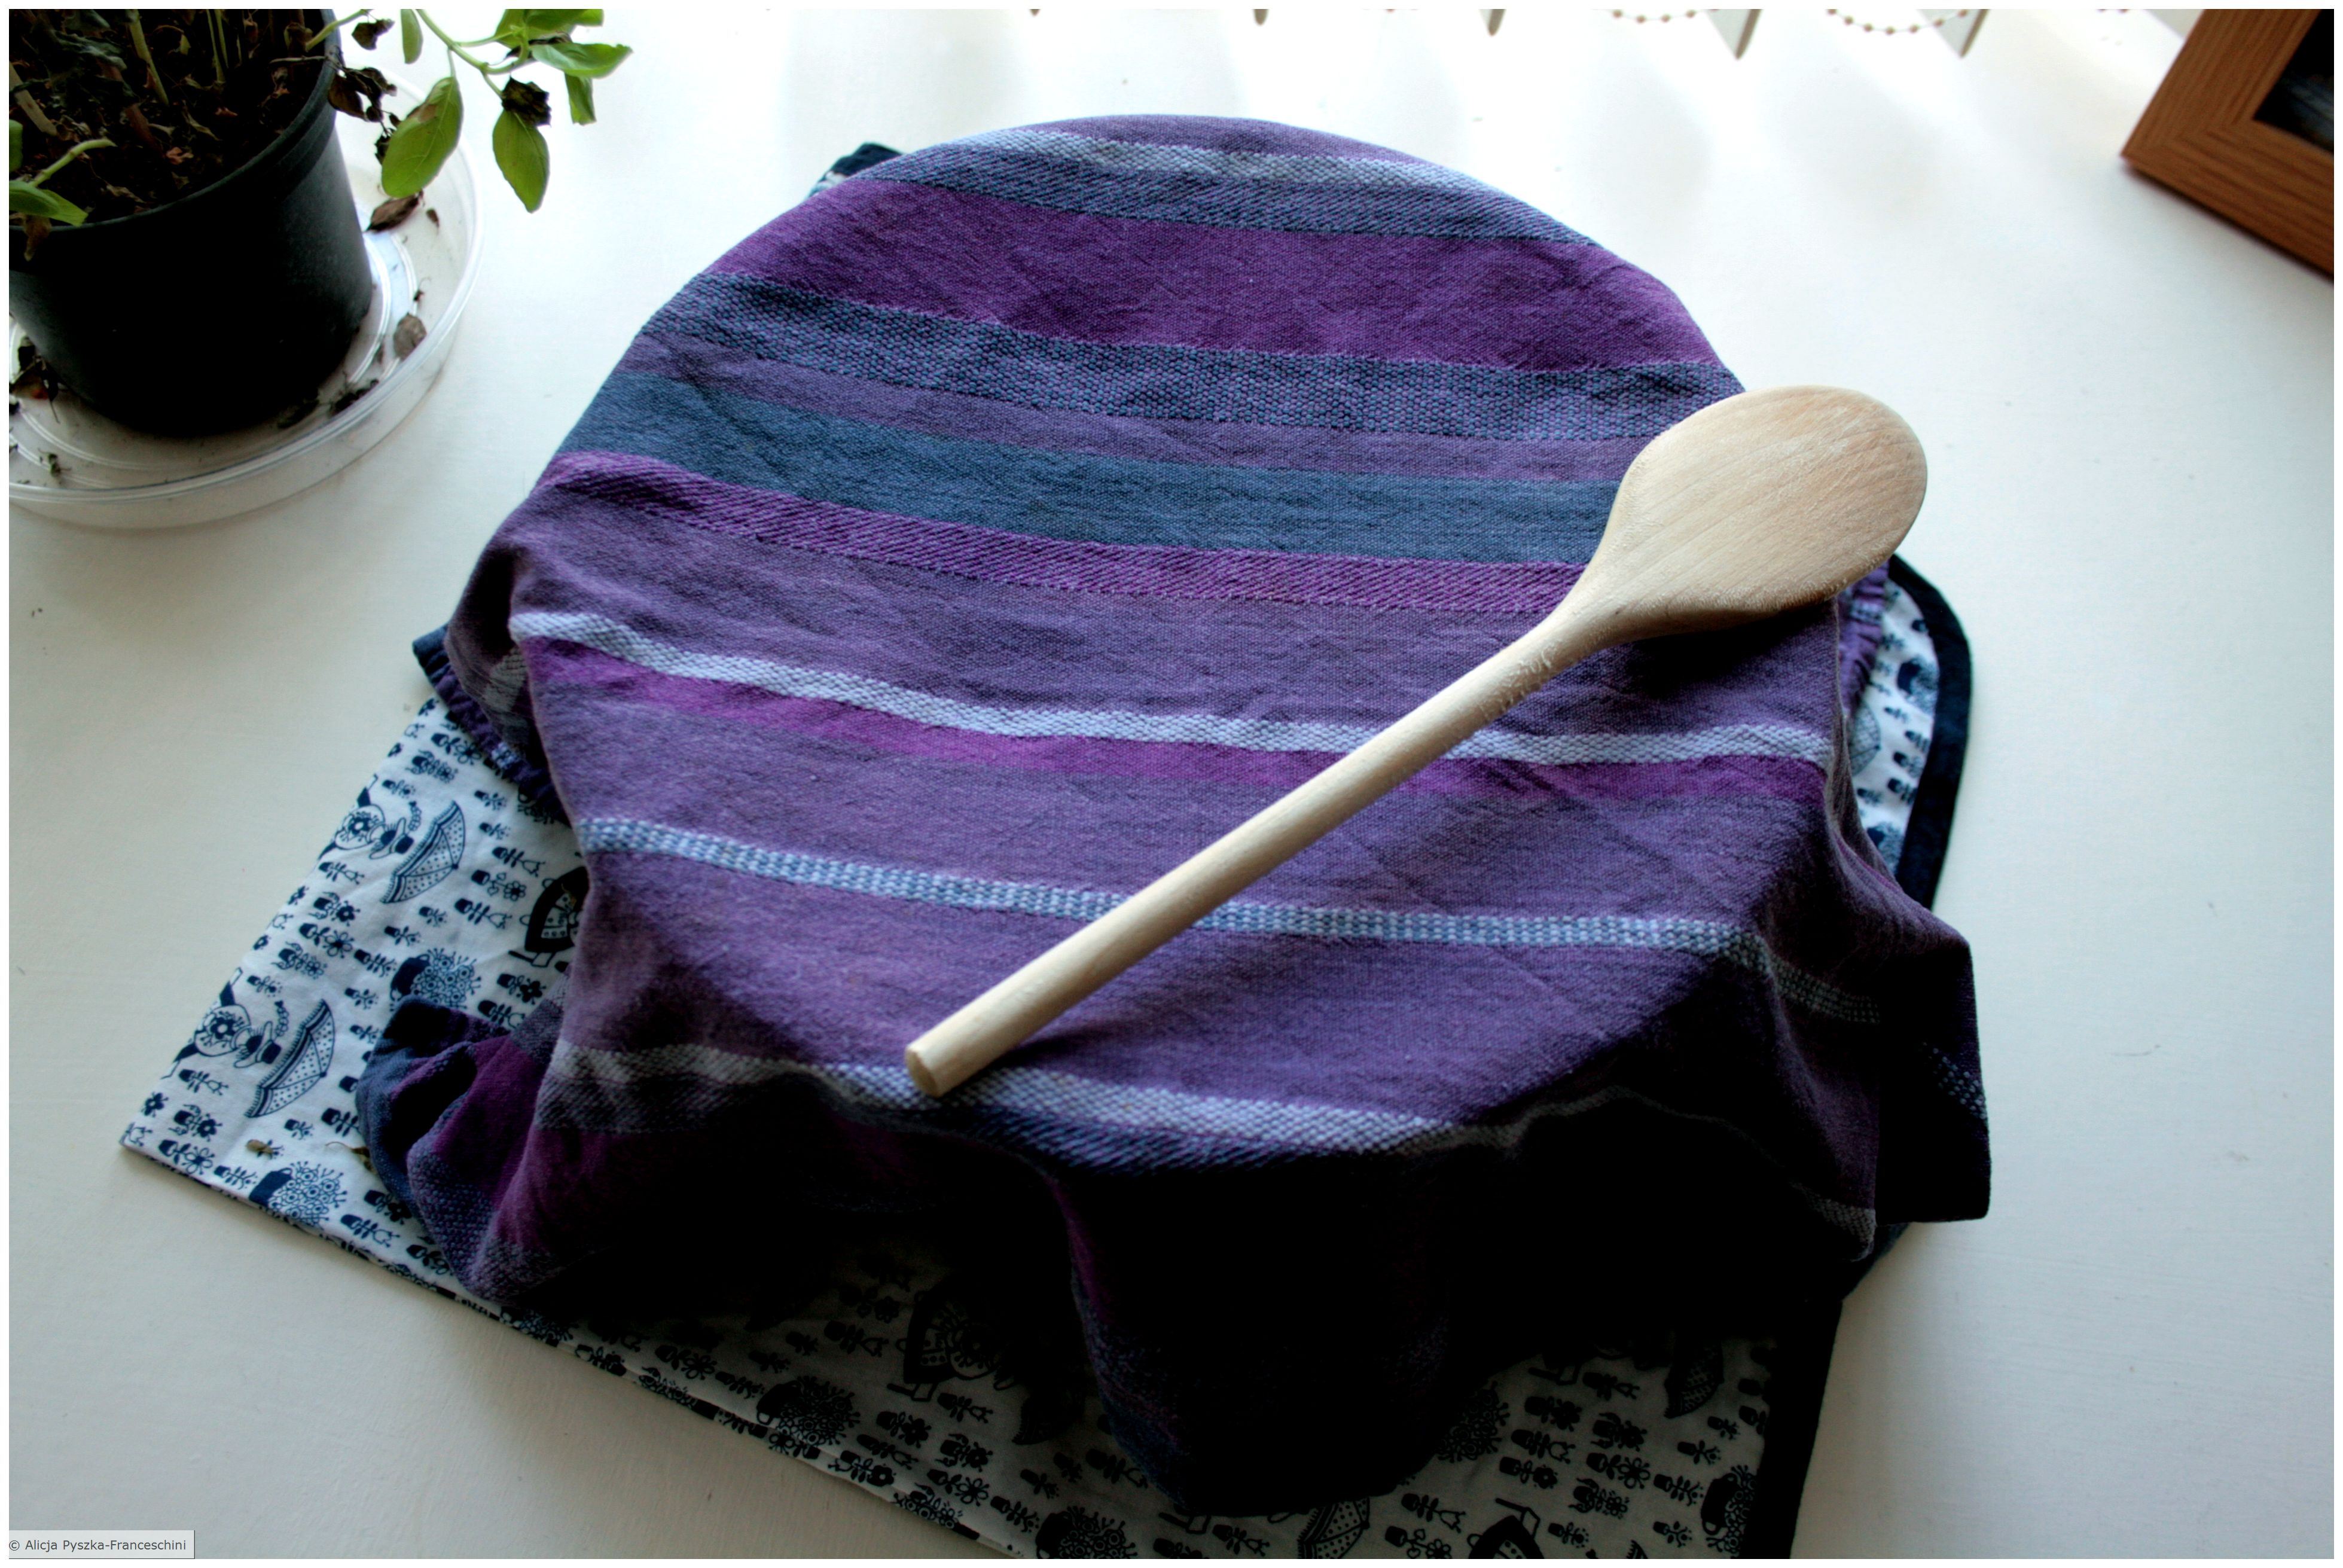
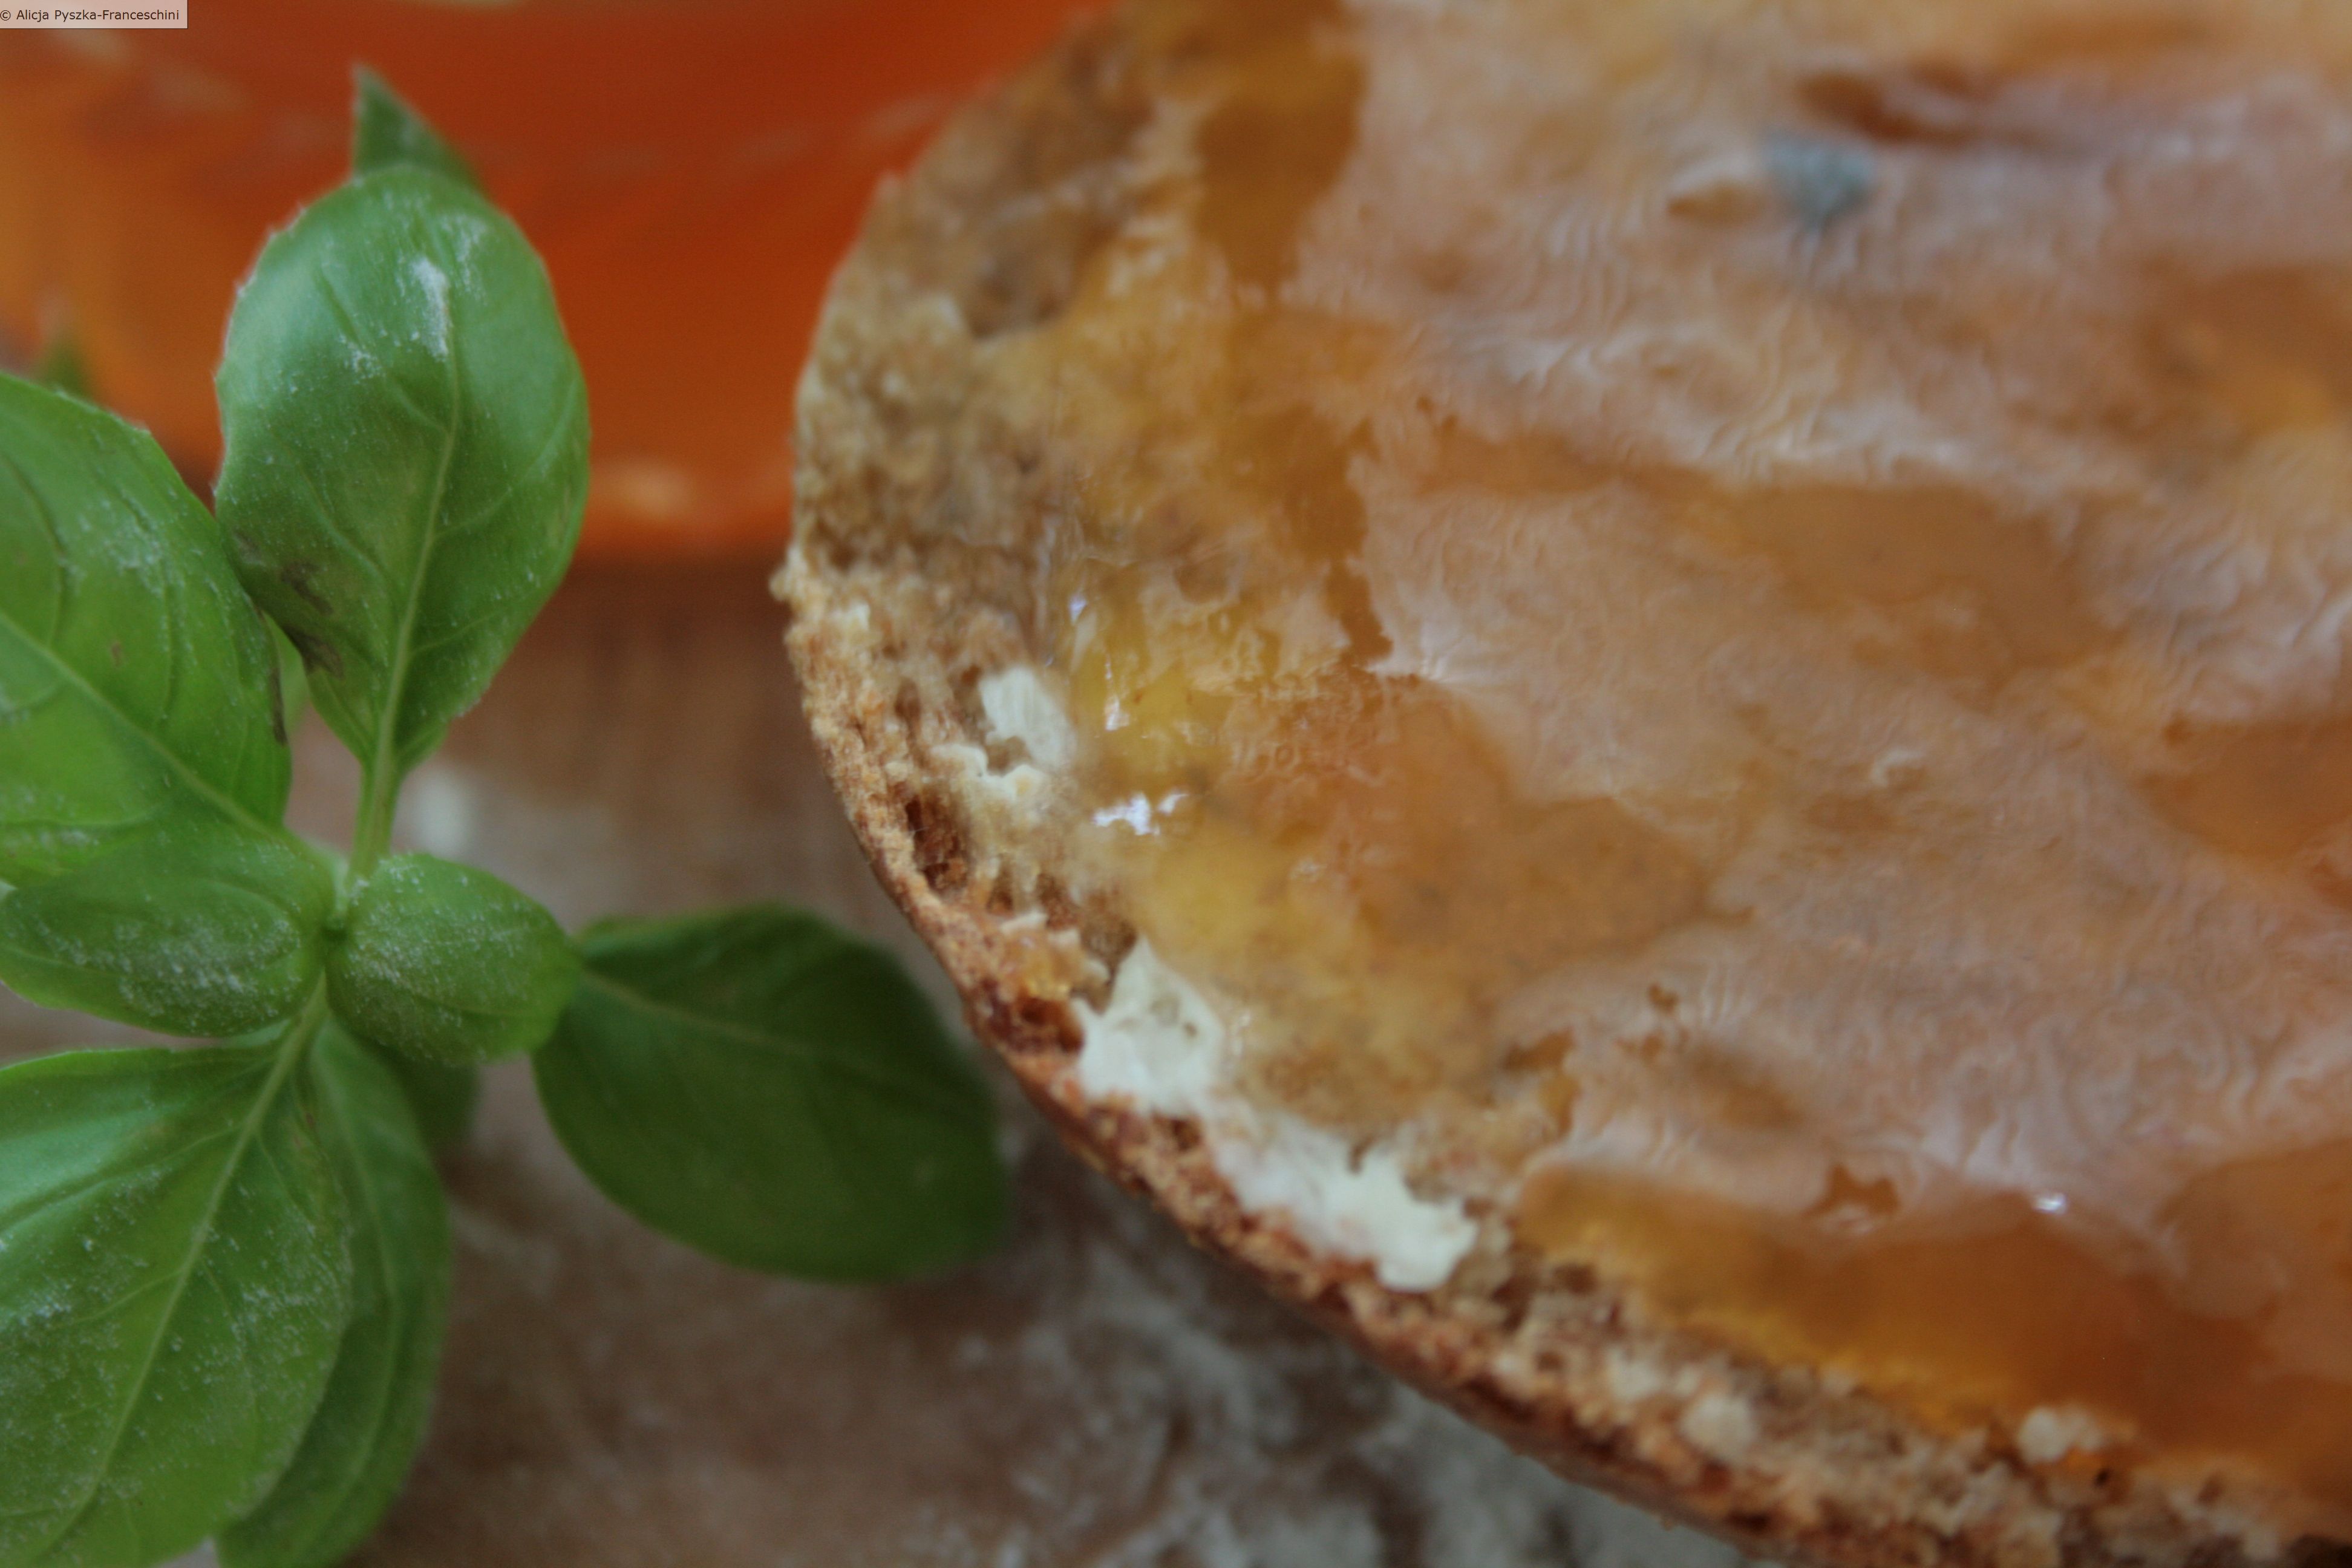
Into a small bowl of lukewarm water put the yeast with 2 spoons of flour. Put it aside for half an hour and let the yeast feed off the flour. When you see small bubbles forming on the surface of the water it means that the yeast mixture is ready. Now, in a large bowl mix all the flours with the salt and slowly stir them adding the water. It’s ok if it feels quite sticky at this point. Knead the dough for at least 10 minutes until it feels fairly soft and elastic [you can add extra flour or water to ease the process]. Slowly pour the olive oil and again knead it into the bread mix. Form a nice rounded loaf and cover it with a wet tea towel and leave it overnight for the dough to rise. A day after, cover a flat baking tray with grease proof paper and form small (4-5 cm) buns. Add dates, sunflower seeds or nuts to the mixture if you wish. Bake in 180-200°C for around 30-40 minutes. There is no need to preheat the oven. It’s good to allow the buns to grow with the increasing heat. It’s delicious served with butter and mirabelle jam (or stuffed with dates) especially if you are only baking with wholemeal and white flours. The wholemeal can be quite bitter and the sweetness of mirabelle plums or dates just complement those flours so well. Enjoy! Bon appetite!


Based on: Andrew Whitley (2006) Bread Matters. Fourth Estate: London.
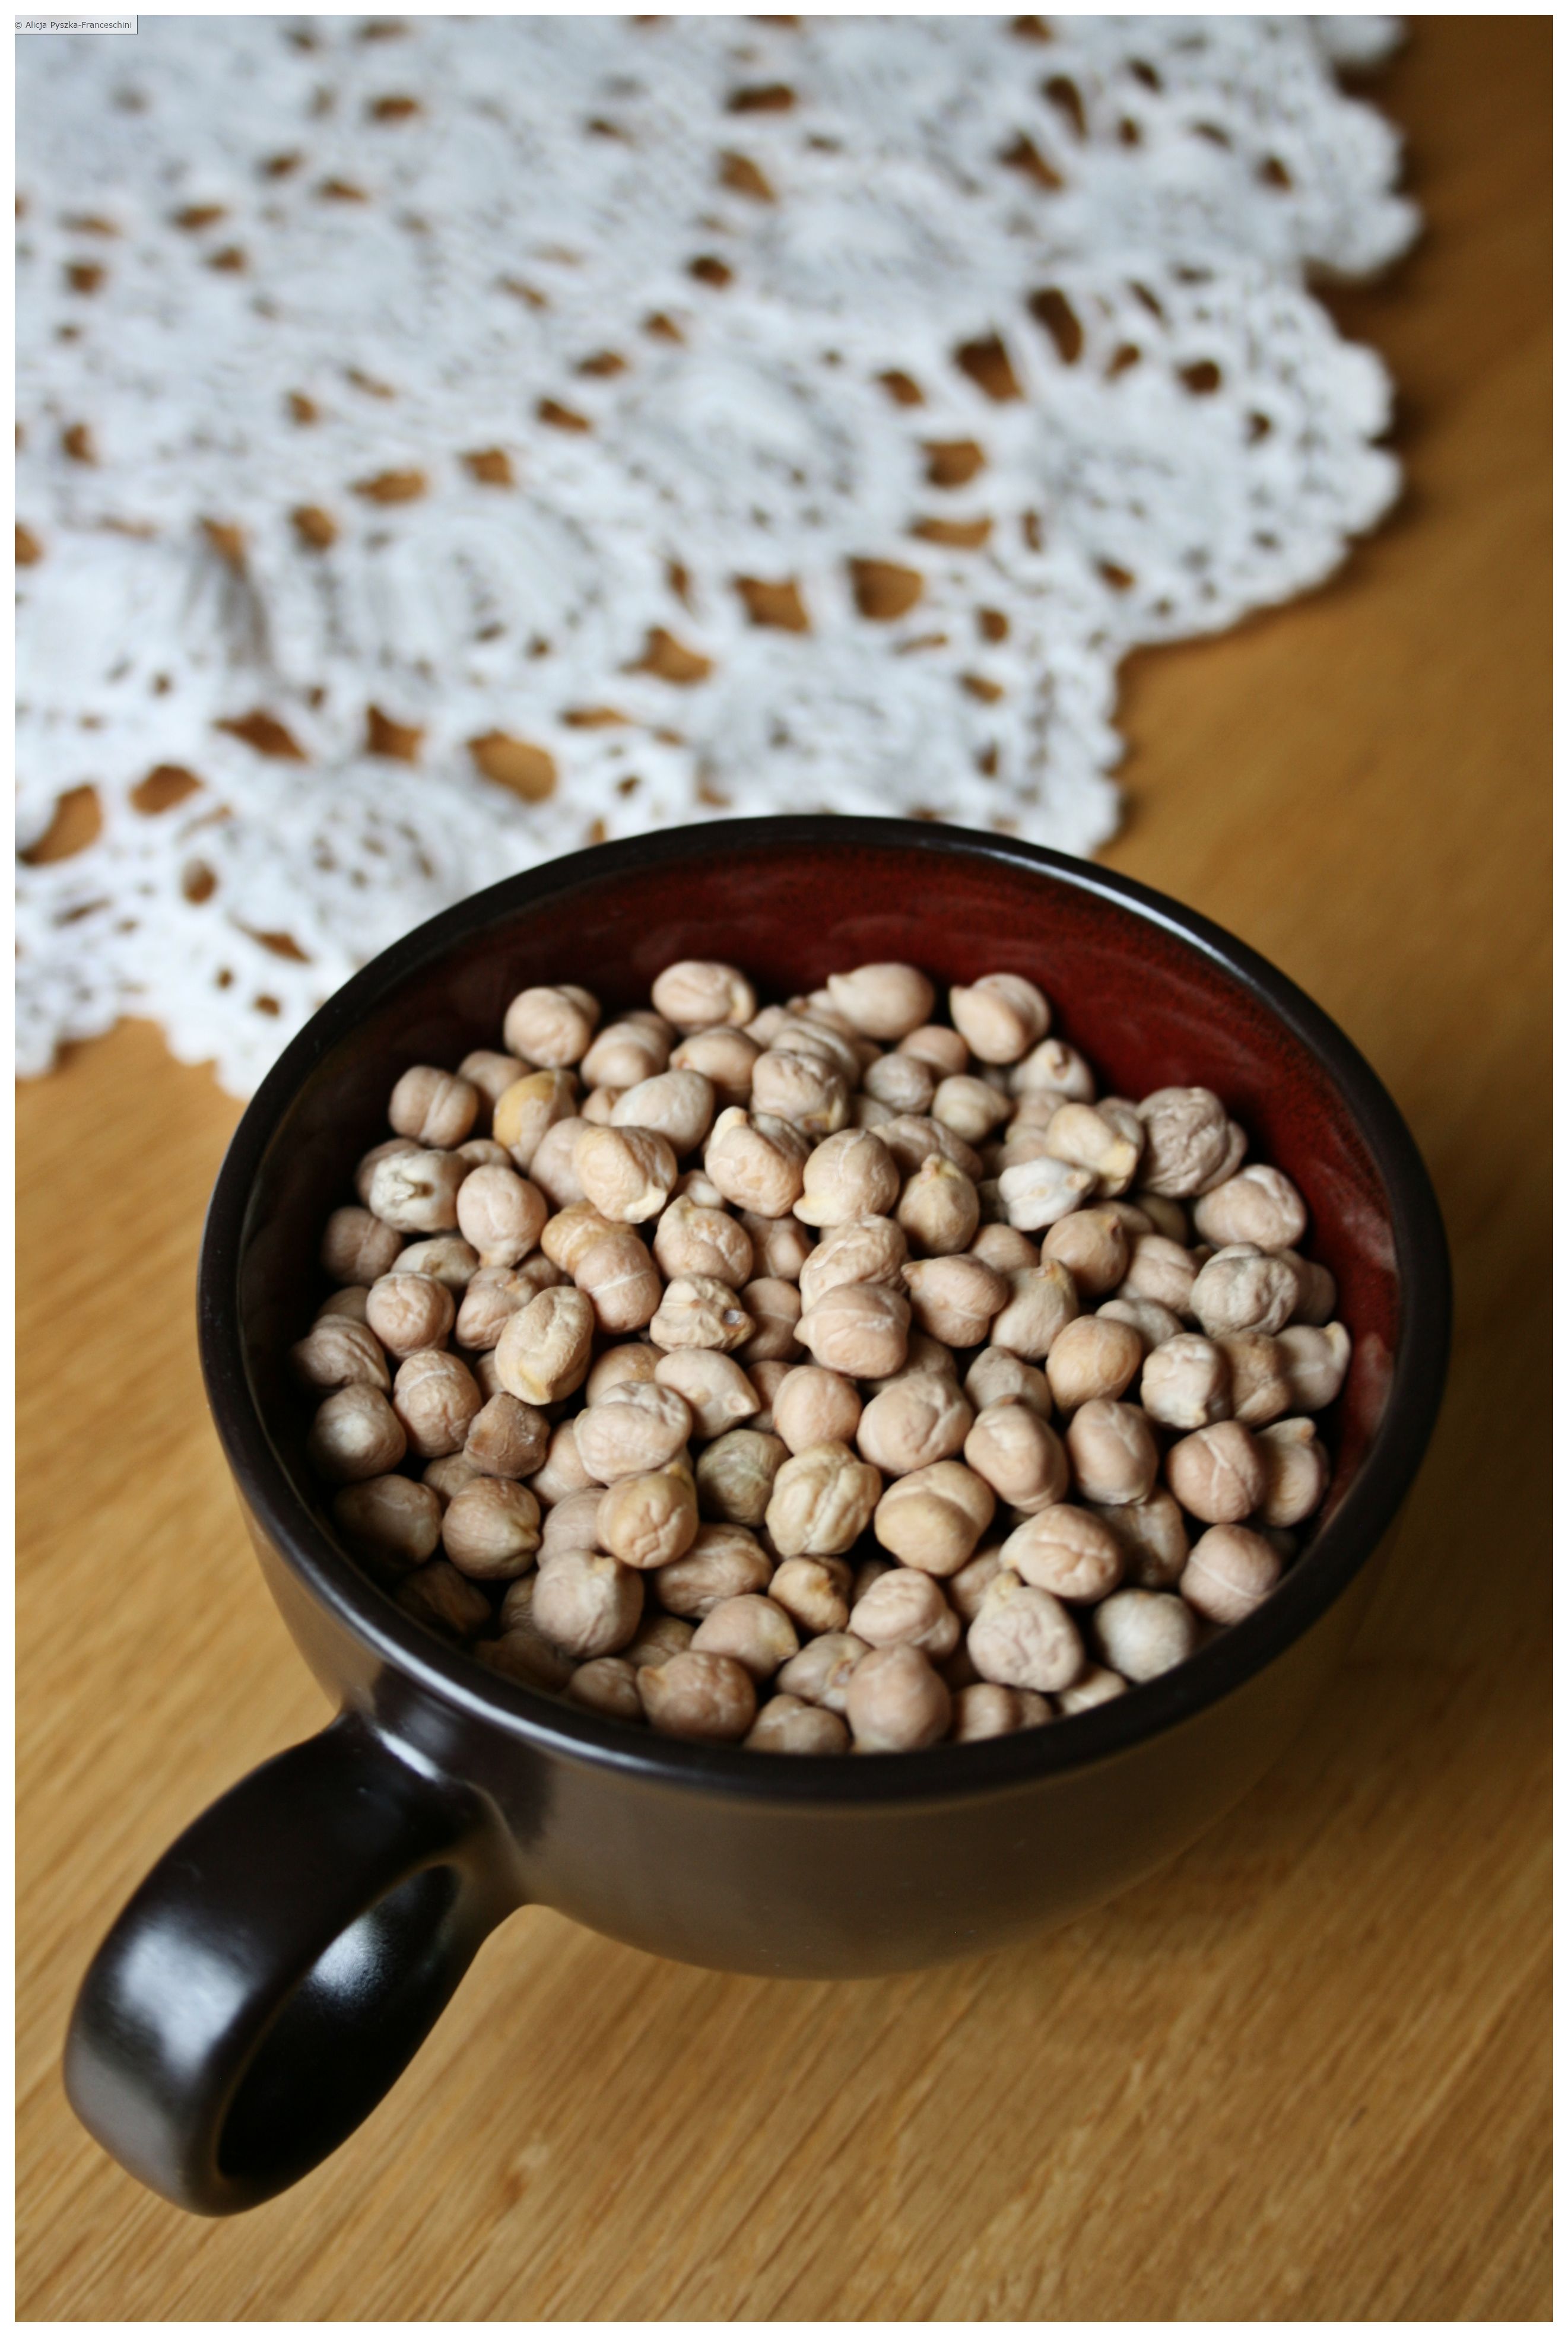
It’s winter in the UK. Days are wet, windy and unpleasant and we keep on getting one cold after another. Fighting bugs with medicine doesn’t really work for most us. It’s the warm and nutritious food that strengthens our immune systems enough to complete the recovery. One of the nicest aspects of living in England is that it introduces you to foods from all the corners of the world and so it’s very easy to get all the necessary spices and ingredients to make these amazing dishes at home. I rummaged through our larder and took out a few good and healthy foods to replace the loved and cherished but eaten far too often pasta. There are many alternatives to it, of course, different types of wheat, lentils, pulses, sweet potatoes, brown rice. All good and yummy as long as you get the right recipe. I found one for Cholay (Curried Chickpeas) online at allrecipes.co.uk posted by Shammi Edwards (here). I thought it might work well so I decided to give it a go.

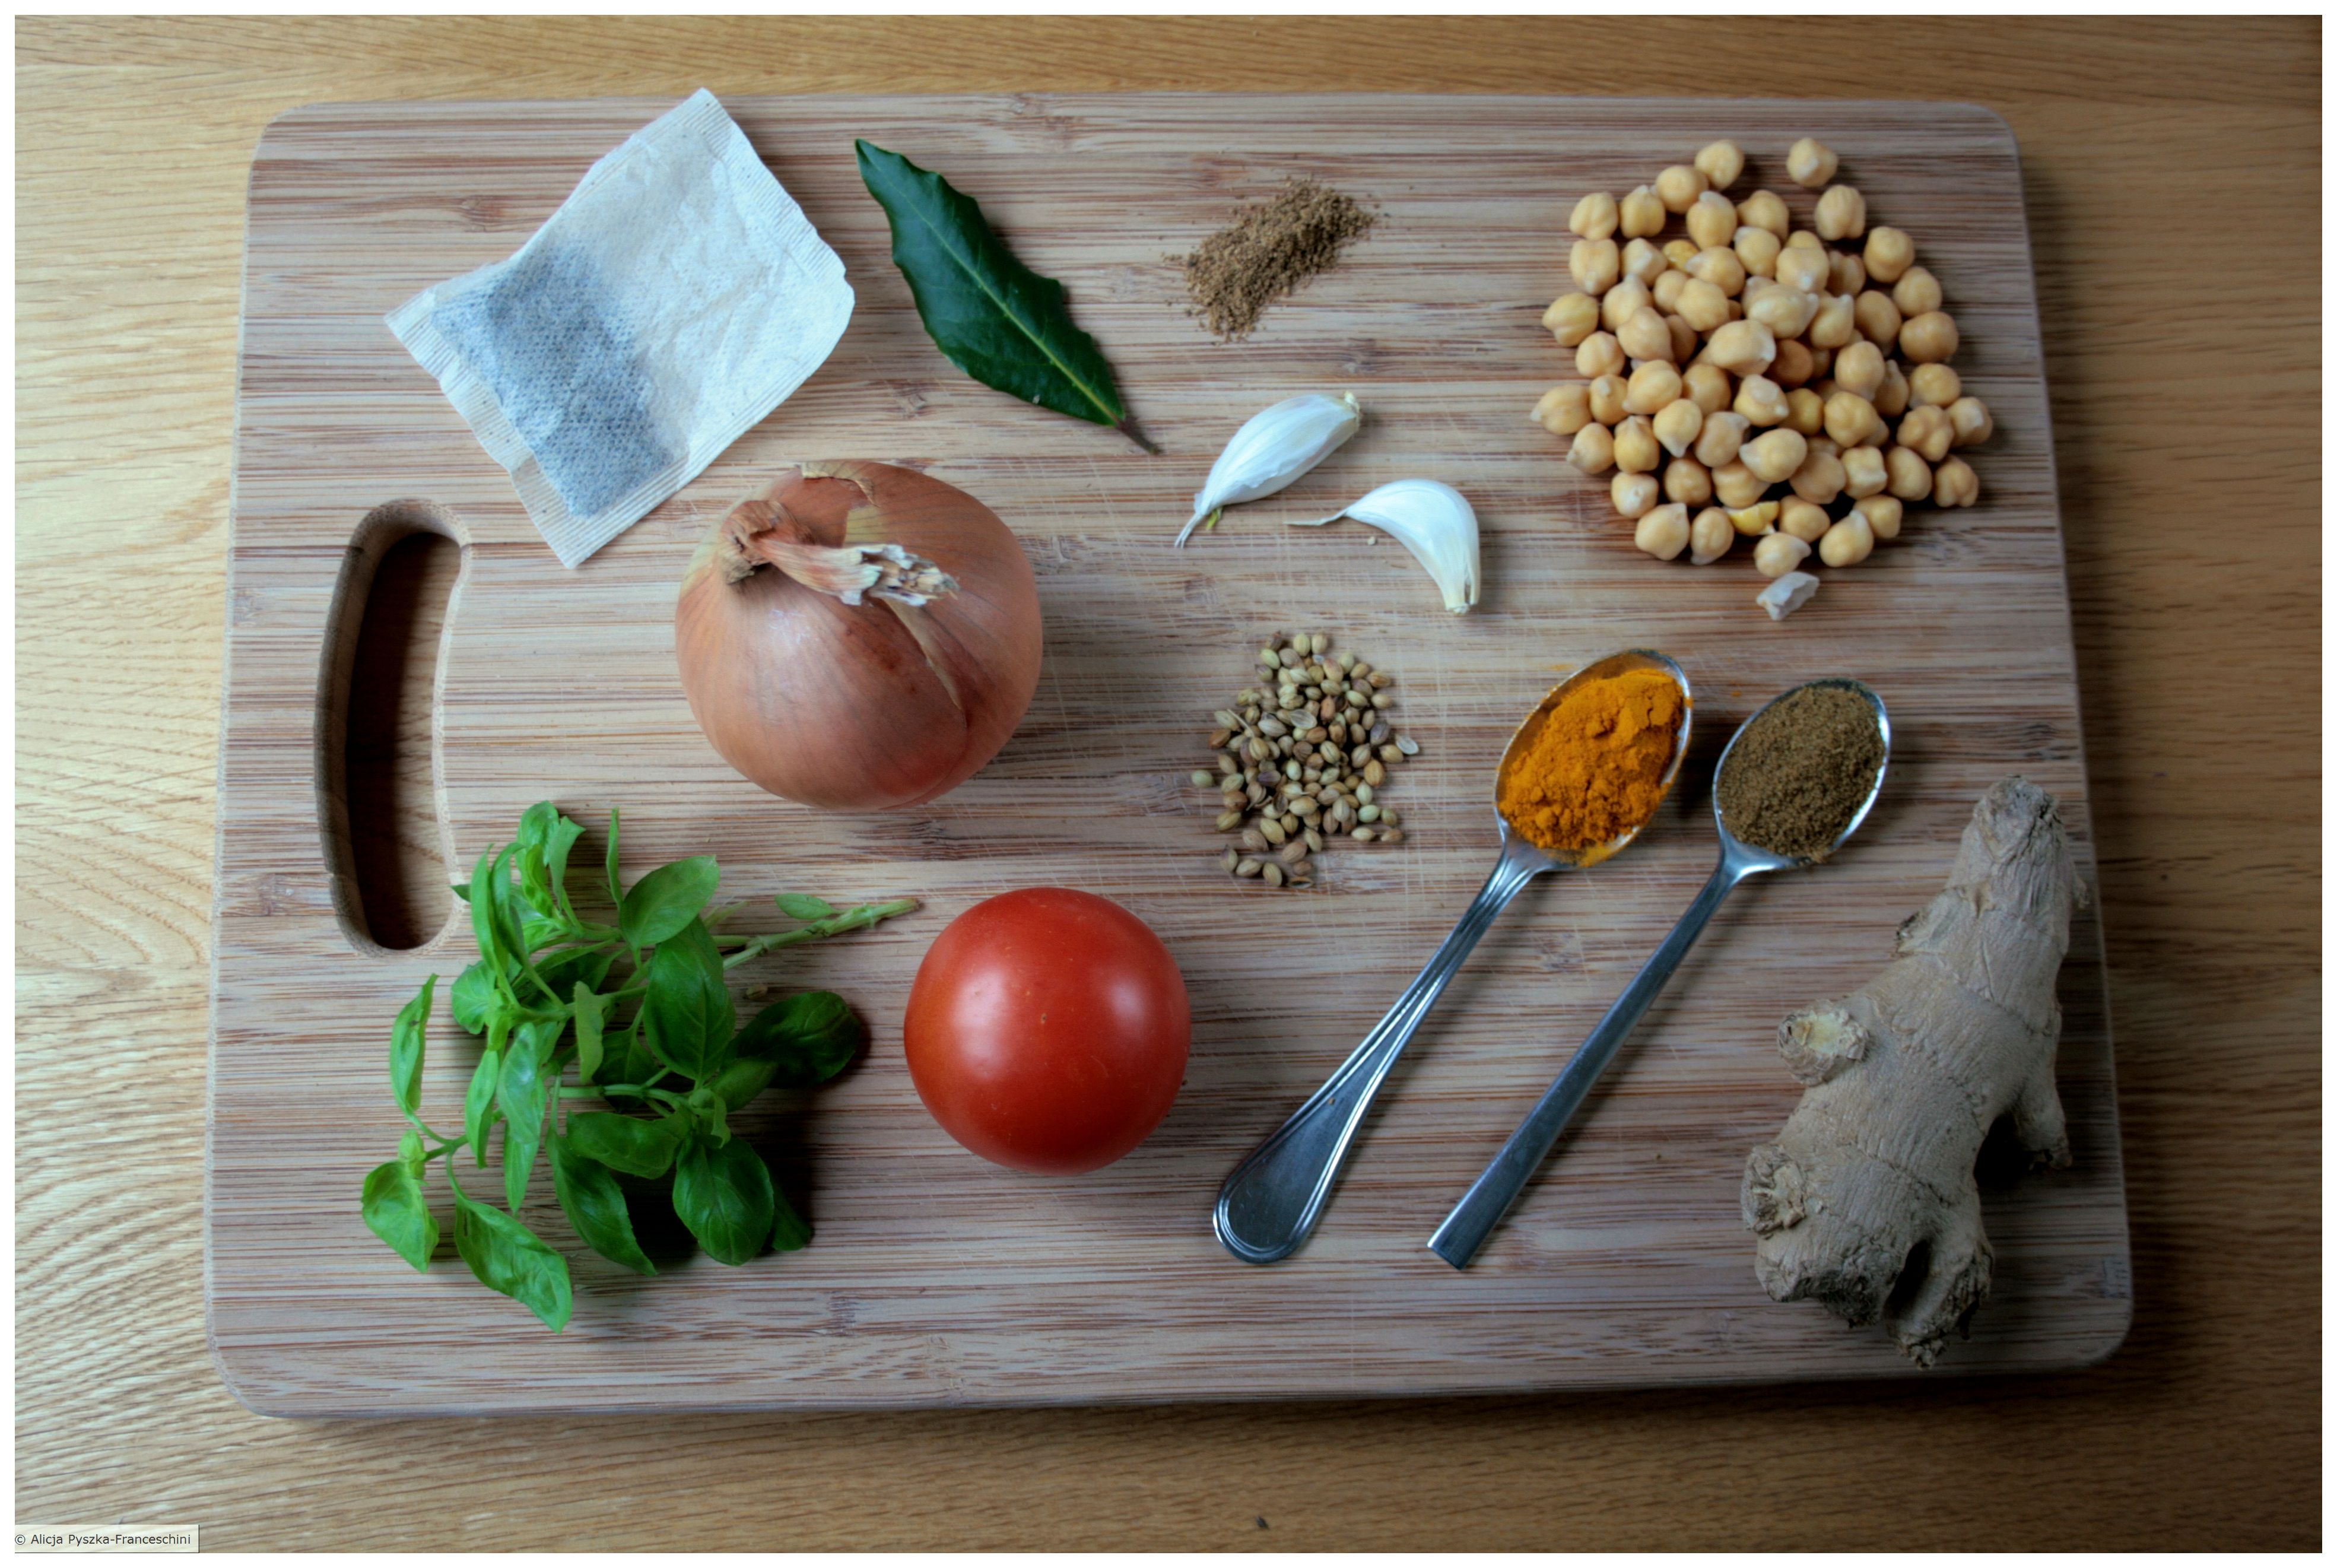
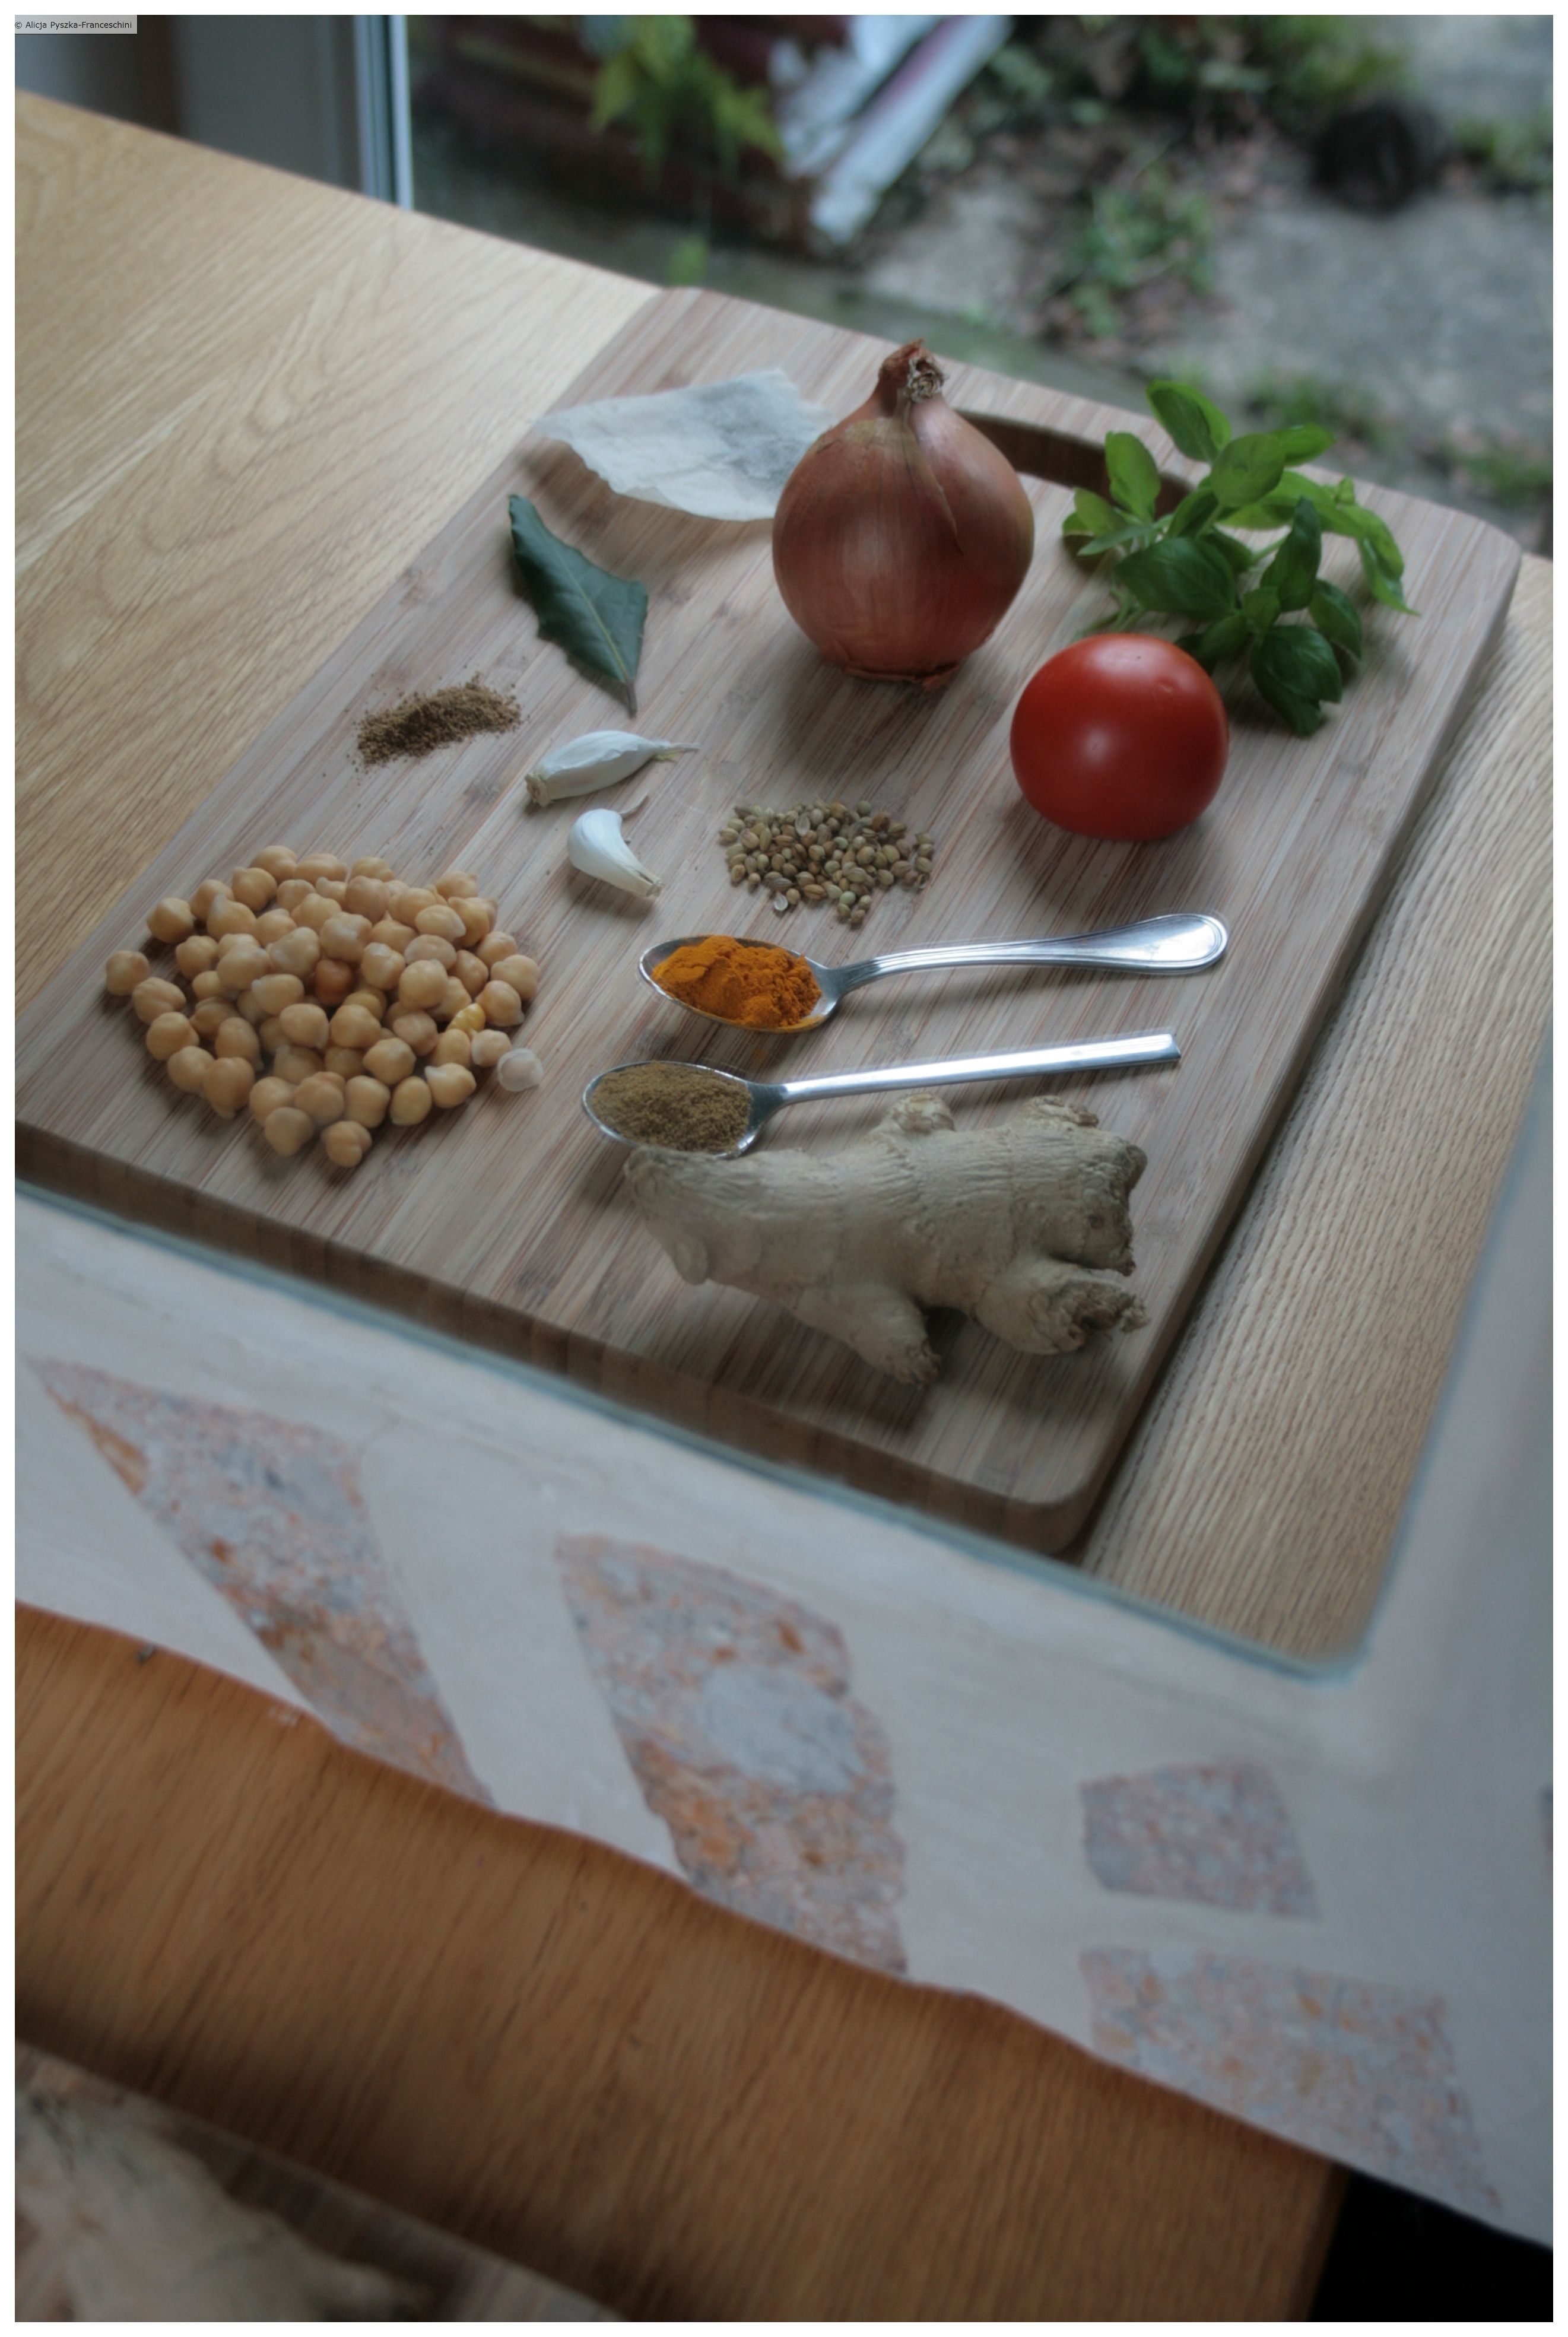
 It took me quite a while to prepare the dish but I wouldn’t worry if I were you… it’s the photographing, a moving toddler in the kitchen and my personal choices regarding the recipe (like using dried rather than tinned chickpeas) that did it… not the recipe itself. Here are the ingredients I used: Assam tea, bay leaf, water, dried not tinned chickpeas, garam masala, garlic, onions, coriander seeds, turmeric, cumin powder, ginger root, tomatoes, basil, salt. If you’d like to do it, you can find the quantities on the original site where I found the recipe. I used basil out of pure necessity as I just didn’t have any fresh coriander leaves to put in and I was pleasantly surprised how well it worked in that dish (made it quite refreshing and invigorating) and Assam tea as a replacement for English Breakfast tea worked fine too. I actually think that this dish lends itself to some manipulation and as long as you get the spices right and add a bit of water here and there in order not to burn the spices or the onions you’ll be fine. You can also make the dish hotter by adding extra garlic and ginger. That was my option and I was happy I used it. I was not too preoccupied with having grounded spices. I just grounded the seeds myself. It adds extra freshness to the dish.

Dried chickpeas can take a bit of time to prepare as you need to soak them overnight then drain and discard the water. After that you cook them in salted water even up to 40-50 minutes. It felt like ages for me so when my little son went for his afternoon nap I decided to experiment with photography a little. I was trying to find a way of reducing shadows from ingredients on that chopping board that you see on top, normally photographers would use a white sheet of card to disperse the light and I thought that I’ll try a mirror. It worked well and actually it allowed me to take a very interesting shot of the arranged ingredients. Here’s how it came out:
I finished cooking after sunset so I didn’t take any more photographs. The light was too poor for it inside the house. But back to food, I served the curried chickpeas with jasmine rice and it was delicious. Honestly, heaven. So much so that I felt slightly guilty about eating it as I seemed to have pledged to have a year without a luxury… and having this food certainly felt like having one. ;)
This post is a contribution towards: The Caring 2014 Project.


